Sunday, November 08, 2020

New Directions - Part 2 - More of the Design Process.

 I love the design process and can no longer start a project without doing some sort of design, so I was thrilled when I heard that the UK Complex Weavers Group had arranged a design workshop with Laura Thomas.

In the last post I introduced the first steps Laura lead us through and here, in this post, I’ll show you my next steps.


Looking at the images on my mood board the next thing to do was to explore colour, so using my favourite medium of watercolour I looked at stripes in the colours found in the images.  The first stripes are rarely the best so it’s well worth the time taken to paint as many as you can, in your favourite medium until you feel the colours are right, not necessarily exact.


The next obvious think to look at is texture and it was while practicing marks using different tools and studying my images that I realised that the embroidery on the coat was herringbone.  


Using colour and texture and the herringbone idea I then tried out different ways to represent the idea.  

So many people ask me why it worth doing these exercises, but it’s doing them that helps to distill the ideas and I realised that herringbone was definitely the main structure I want to explore for this project and use two different shades of dark blue, one in the warp and one in the weft.


In the next post I’ll be explaining where the design process took me, but in the mean time, sign up for Laura’s newsletter as she will be running this course in the future.

Sunday, November 01, 2020

New Directions - Part 1 - Design

Now I’ve not been teaching since lockdown in March, I’ve been in need of new inspiration, although I’ve suffered, like a lot of creative folk, from a lack of motivation.  On the last two Saturdays of October I was lucky to take part in a Laura Thomas workshop, Design for Weave, organised by the UK Complex Weavers group.  It should have taken place in March in London, but Covid-19 put pay to that, however, Laura and Complex Weavers re-organised it to be online instead.

Those who know me recognise my love of design and it’s great value in producing good quality and stunning textiles, so will wonder why I would need or want another Design Course...  ...I’ve been doing a lot of simple woven structures for quite a while  now,  most of my students had rigid heddle looms, so any inspiration for them had to be with one, too.  So Laura’s workshop is timely as I’m in great need of a kick up the proverbial back side to get me looking at 8 shaft structures.

Laura gave us a starting point and lead us through briefs, the design process and beyond via her new Weave School.  


I’d never thought of mind mapping as part of my design process, but I found it really useful and will certainly do it again.

What came out the this was looking at colour contrasts.


I always start my design process with writing, usually it’s a discussion with myself about my inspiration, describing the colours, shapes, textures, etc., in my inspiration.  This time, though, it was a lead in from my mind map and began to distill my thoughts about colour and how I could use them in my fabric ideas and taking them forward to a mood board.


Mood boards are one of my favourite things about design, they help to distill my ideas and are a great way to present the mind map in a textile form and if you work commercially they give the client an idea of your interpretation of their brief.  These are always ‘movable feasts’, you may discover something, during the design process, that you’d not initially thought about, or the client my prefer some alterations.


I’ll talk more about my design process resulting from Laura’s workshop and where it leads me in more posts, but for now there is a lot of food for thought here.

Friday, April 17, 2020

Warping your Rigid Heddle Loom - Starting to Weave

The most common question I'm asked by beginners is how to keep the selvedges neat.  This post is intended to address this problem.

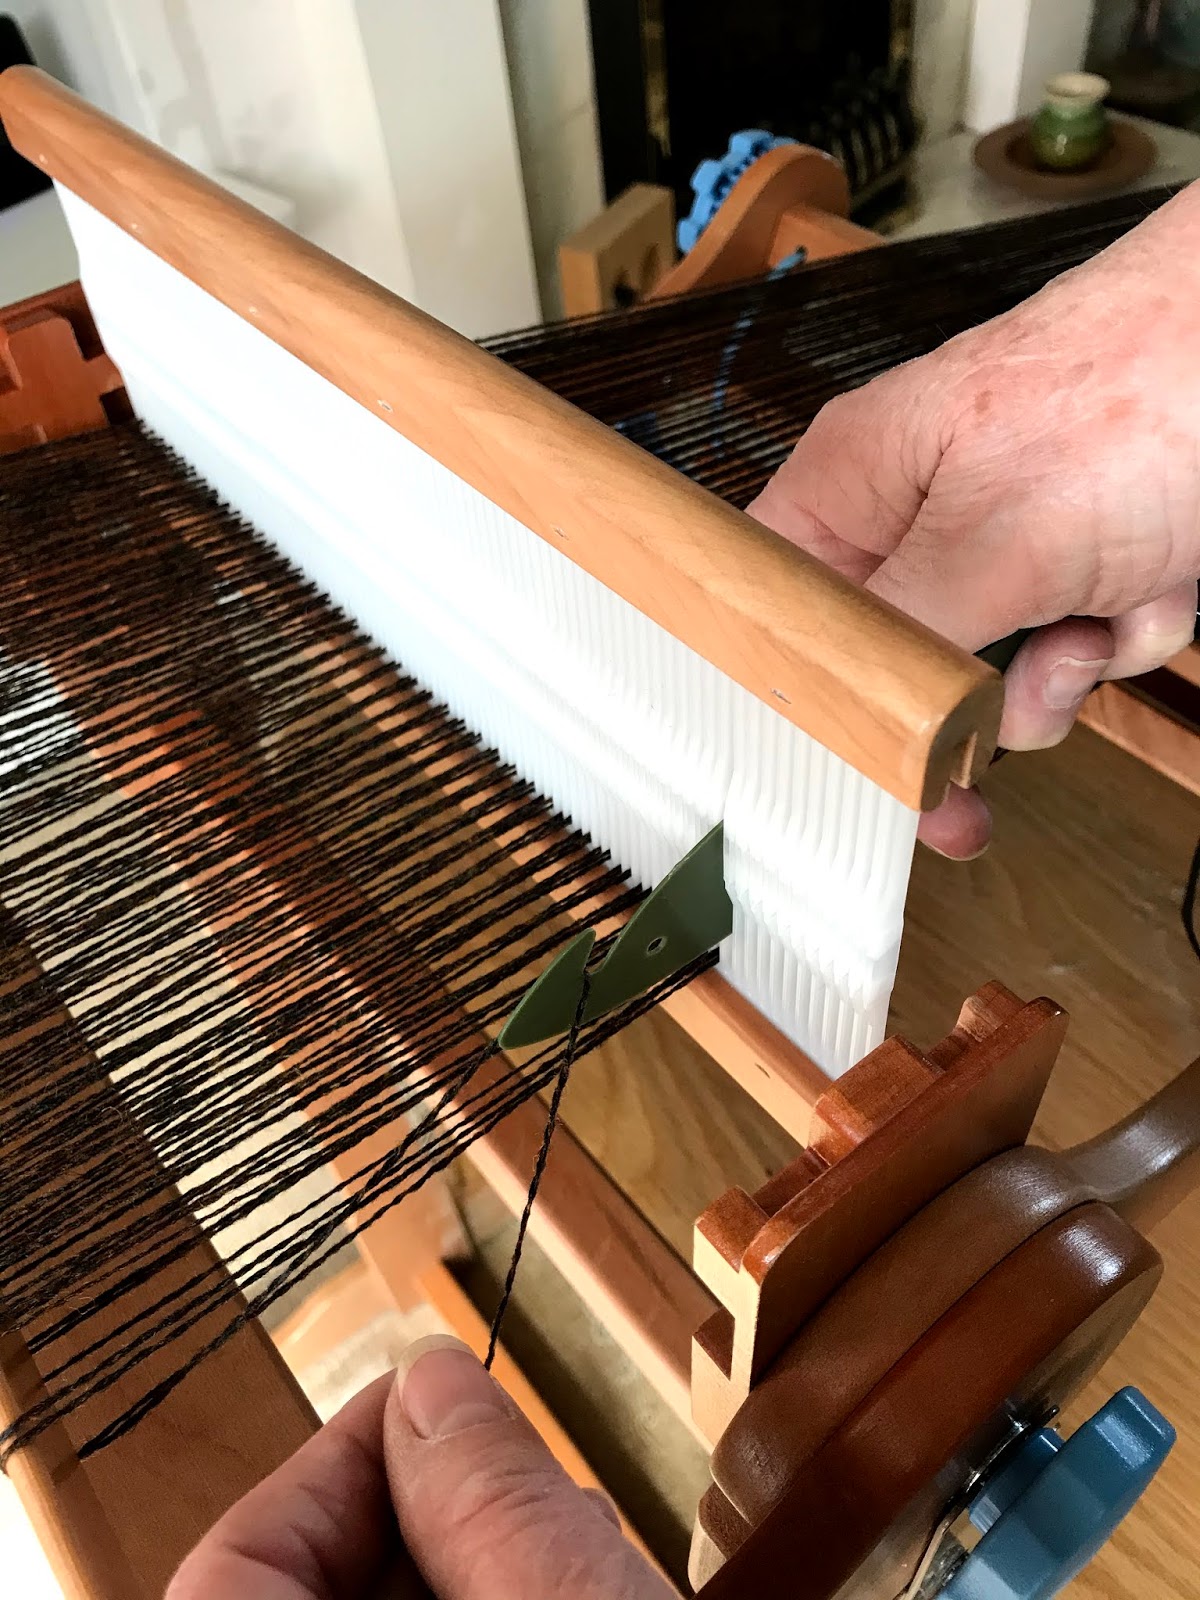
First and foremost the tying-on of your warp ends at the every edges, as we saw in Part 3, should help by ensuring that the start of the weaving is the right width to start.   The next thing is to ensure your weft is long enough to "mould" round the warp ends.  To do this lay your weft pick at 45 degrees.
Weft pick laid at 45degrees
In doing this you will find that there is enough additional weft to mould round the warp ends.  You can test this by holding the weft at the selvedge and bring it back to the fell of the cloth.  There will be about 1.5cm to 2.5cm (1/2" to 1") of weft to spare at the selvedge.  This would be how much the edges would pull in over the whole width of the weft.

The amount of weft to spare to mould round the warp ends, to prevent pull-in.
Very often there are loops at the selvedge, especially on a rigid heddle loom.  This is caused by the edge warps being at different heights as the weft turns round the selvedge.  To overcome this, hold the two adjacent warp ends at the selvedge at the same level, and at the same time give the weft a little tug to ensure it's sitting snuggly against the very edge warp end without pulling in.

Holding the two adjacent warp ends at the same level.
Once you've laid your weft at a 45 degree angle, gently ease the rigid heddle forward and watch the weft even itself out across the width of the warp.  You will see that it doesn't loop at the edge, but mould round the warp ends.  It's magic!

Watch the weft even itself across the warp as you gently ease it into position.
Although we say "beat" the weft into position, what we really mean is ease it into place.  You only need to "beat" the weft if you are making a rug and you need the warp ends to be covered completely to produce a weft faced weave.  For a balanced weave there should be equal warp ends and weft picks.  Two warps and two wefts should form a nice square when the weft is eased into position.  If you form a vertical oblong, you aren't beating enough, if it's an horizontal oblong your beating to much!
Two warps and two wefts should form a nice square.

Monday, April 06, 2020

Warping Your Rigid Heddle Loom - Part 3

Back at your loom, you now should have threaded the holes in your rigid heddle and be ready to tie-on.

If you have an Ashford folding rigid heddle loom, the Knitters loom, you should ensure that the back is now lifted and the knobs tightened, if you haven’t done already.


There is more than one way to tie-on, but this is the way I was taught way back in the late 60's and although I have tried a number of different ways, this is the one I always come back to for a number of reasons which I will go into later.

I always start at the centre of my rigid heddle when selection bundles of warp ends and work my way out to the sides alternating bundles from the right and the left.

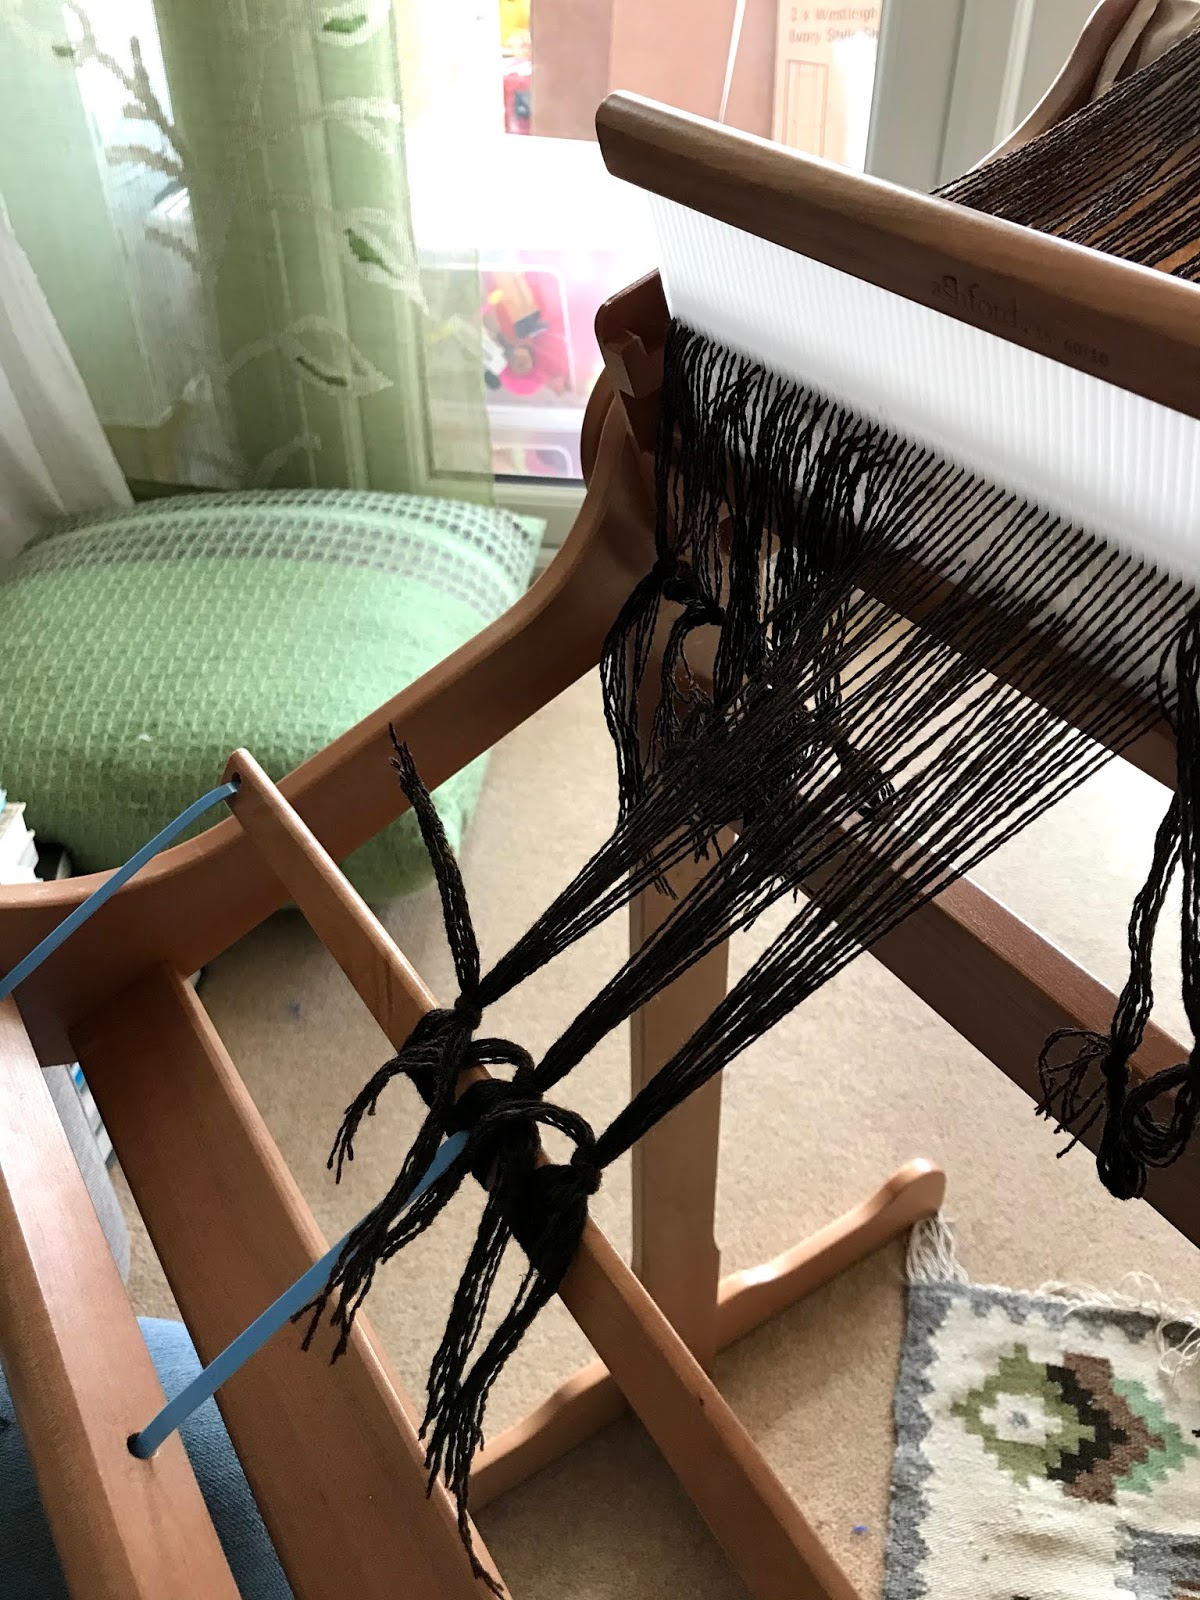
Take a bundle of ends from the centre and divide into two.  Bring the two halves either side of the centre apron tie and under the stick.  If you don't have a centre apron tie, just bring the two halves under the apron stick.  I usually work in bundles of eight, divided into two halves with four ends in each half is I've a fairly fine yarn.

Bring each half up over the top of the stick and down either side of the bundles.

Now cross the two halves at the back of the bundle and bring back to the front.

You can now tie the two halves together on top of this bundle.  Take the next bundle to the right and repeat the process.


Continue, by taking the next bundle from the left of the centre bundle and repeat.

Keep going in this way, taking bundles from the right and left alternately until you get the end right edge.

So far your bundles have been tied so that the knot is at the centre of the bundle.  But if you do this at the edge you will find that the rigid heddle will rub and shred the warp ends in the selvedge.  Also, as the knot will bring the bundle in and away from he true width of the weaving you will be fighting a battle to get the selvedge out perpendicular to the end warp in the rigid heddle.

To over come both of these problems tie your knot so that it is perpendicular to the end warp.

There will be a wider gap between the bundles, but that will be sorted when you pack your warp.
Repeat this at the left side.

Now for the packing.  Again, there is more than one way to do this and I've explored a number of ways to do this and depending on my warp, it's sett and how much yarn I have to spare I do it in different ways.  In general, this is the way I pack my warps.

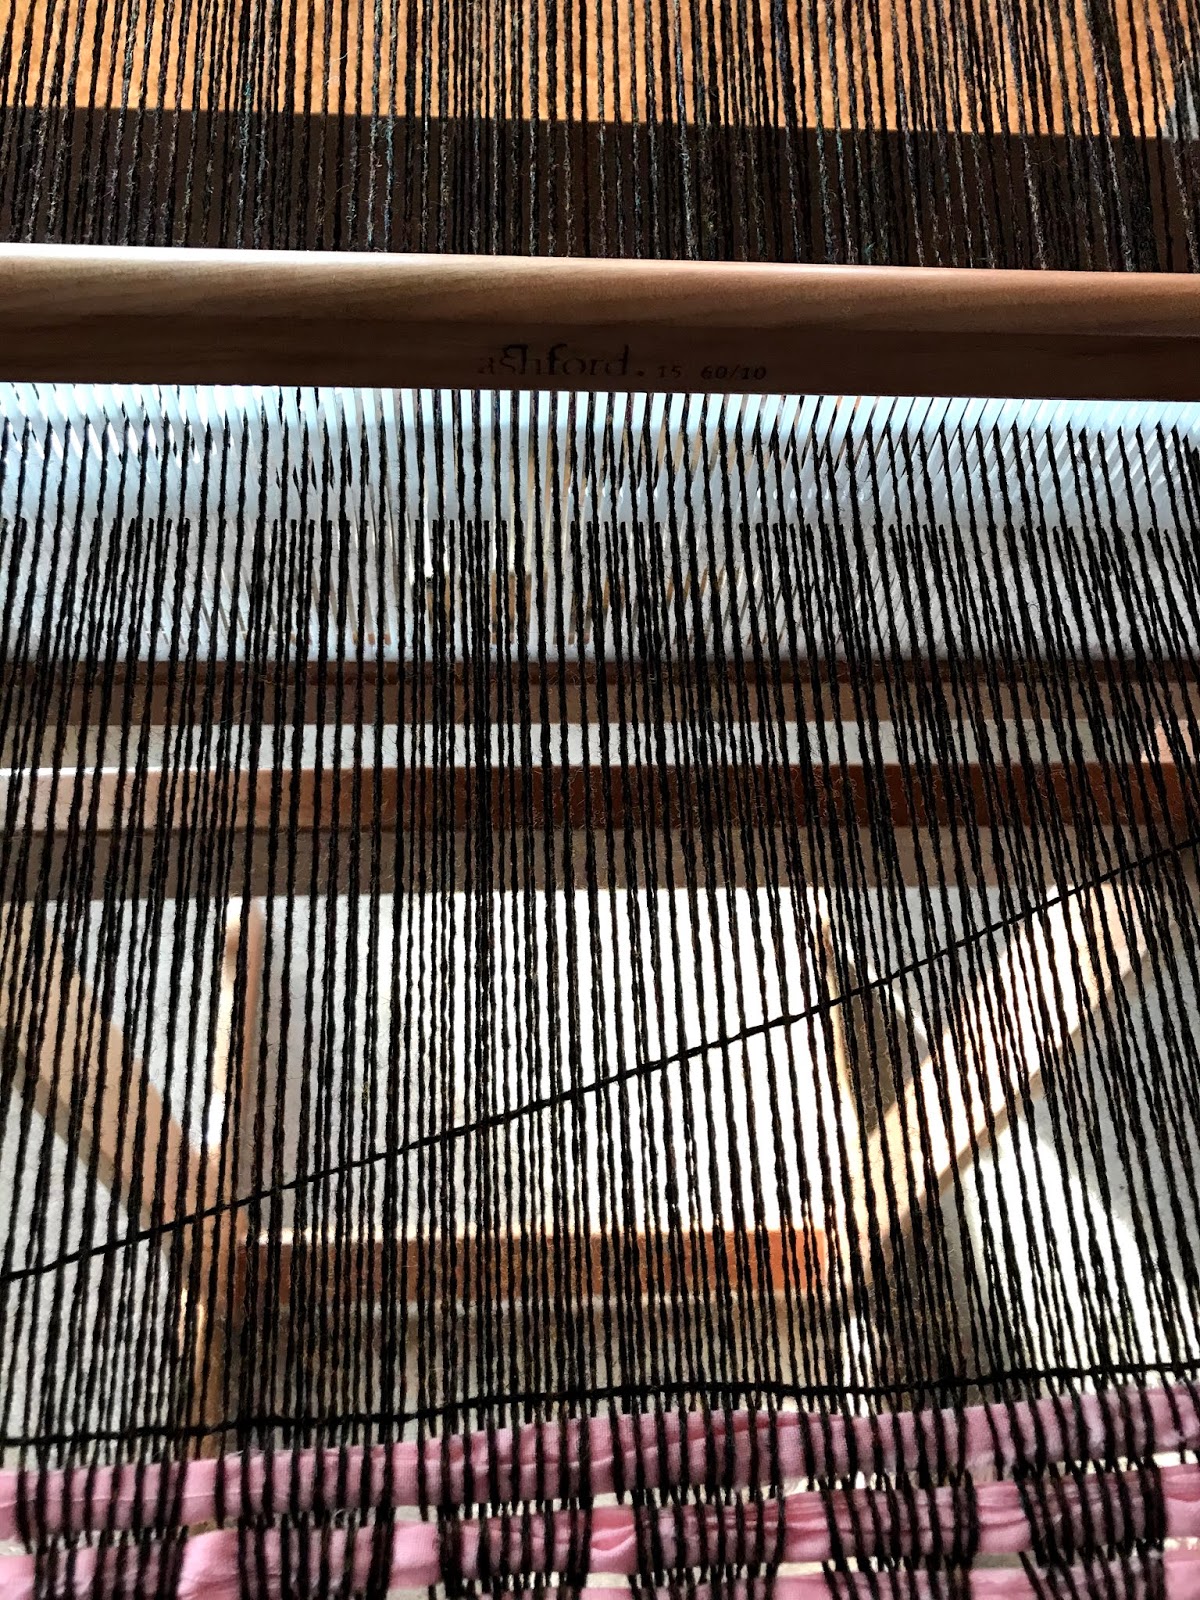
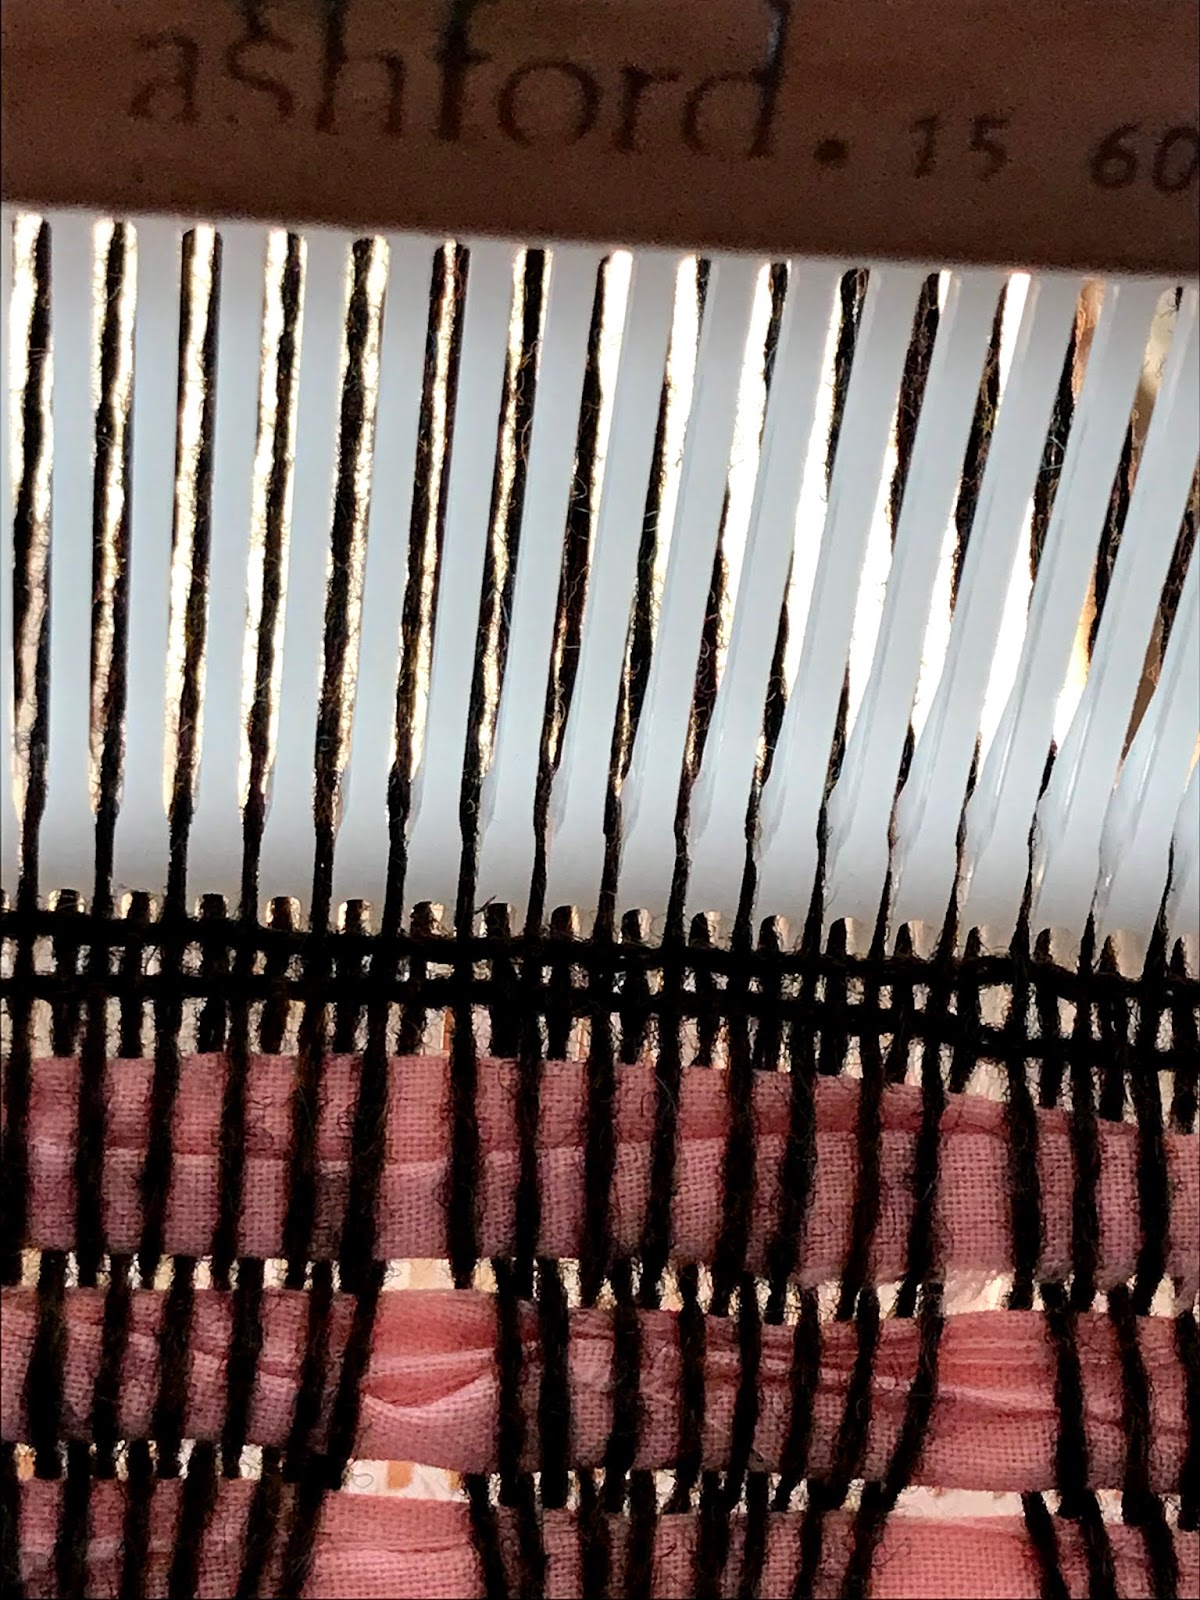
Take thick bundle of waste yarn or in this case a length of cotton fabric, cut into strips, measure a loop of fabric, wider than the width of your warp, open your shed and push the loop through with a stick shuttle.

Beat into place, then change your shed and repeat.

Usually three or four loops is all that is required.

Why do I use these loops?  Well, once the weaving is finished, the loom state fabric cut off and wet finished, it's really easy to pull out the loops from one side rather than having to unweave the bundles.

Next time I will show you how the weave ensuring you don't pull in the sides of the fabric.

Sunday, March 29, 2020

Warping Your Rigid Heddle Loom - Part 2

So you've managed to get back to your loom and, no warps have come adrift as you secured them all and you are ready to thread the holes.

Take your first bundle of loops, undo the slip knot and cut the loops.
Cutting the loops.
Starting from the right, leave the first pair of warps, in the first slot, where they are (this will be your selvedge) and select the second pair in the second slot.
Select your next pair of warps in a slot.
Separate them and remove one of the pair.   With your threading hook, pull this thread through the hole to the right of the slot.
Threading hook inserted in the hole to the right of the slot.

A note on threading the holes:
It's really important that this is done right, otherwise you can shred your warp ends making the weaving at the beginning very difficult.

Taking the next thread to be threaded in a hole and hold it in front of the rigid heddle.
Holding the next thread to be threaded in the hole.
Keep hold of the thread at that point, move your hand to the back of the rigid heddle and hook the warp end between your fingers and thumb.
Hooking the warp between your fingers and thumb.
Pull the warp through the hole until there is a loop at the front.
The loop of the warp end at the front of the rigid heddle.
Remove the hook and with our fingers pull the loop completely through the hole.

Repeat the threading through holes for the first bundle of warp ends and re-tie with a slip knot.  This will prevent them falling out of the rigid heddle if you have to leave your loom.  Repeat this across the rigid heddle until you get to the last pair of warp ends.  Thread these both through the hole to the right to form the left selvedge.

You can stop at this point, but check all the bundles are re-tied with slip knots.


Tuesday, March 24, 2020

Warping your Rigid Heddle - Loom Part 1


 A quick post to help in warping your rigid heddle loom.

Clamp the back of your loom to your table and clamp your warping post at the other end of the table.

To make sure your warp will be long enough measure from the back warp stick to the post.  This distance should be:

  •  the length of your project 
  • + shrinkage (shrinkage is often estimated at about 10%, but ideally you should have woven a swatch, measured the length and width once off the loom, wet finished and remeasured.  This will give you the actual amount of shrinkage.
  • + wastage (wastage is the amount of yarn between the back warp stick and where you estimate the fell of the cloth would be in front of your heddle and the amount of yarn between the start of your weaving and the end of the warp that has been tied to the front apron).  As a rule of thumb 18" or 45cm is about the amount of shrinkage with a rigid heddle loom.
Now you're set up you need to tie your warp yarn to the back stick and using your "fish" hook pull a loop through the fist slot.  This loop is taken round the warping post .

Pulling a loop of warp yarn through a slot with a "fish hook".


Taking the loop round the warping post.
Repeat this through all your slots until you get to the last one and cut your warp off and tie onto the back warp stick.
The warp is threaded across this loom and tied to the back stick.
Now you are ready to wind your warp onto your back beam.  But first you need something to separate your warp as they wind round your back beam.  When I learnt to weave at school back in the late 60's it was always sticks, but can be strong brown paper, my preferred choice, stiff cardboard stick or similar.  Never use newspaper, though, as it's not strong enough. 
Here are a few examples of suitable recycled packaging that I use.
Cut your chosen material to the the width of your loom, 12" in this case, and stick to the back beam with Sellotape.
My warp separating material taped to the back beam.
Remove the warp from the post and work your hands up towards the rigid heddle and stand on the side of the loom with the ratchet.  With one hand on the ratchet and the other tensioning the warp begin to turn the ratchet so that the warp winds onto the back beam.
The warp is kept under tension as you wind on .
Keep winding the warp onto the back beam, inserting stiff paper until you warp end is level with the front cloth beam.
Stop winding once your end is level with the cloth beam.

This often a good place to stop if you are short of time, but its really important to secure your warps in the rigid heddle if you are going to leave warping at this point.
Secure your warp in bunches with a slip knot.
Divide the warp into bundles and use a slip knot to keep them from slipping out of the slots.

As this is a good place to pause your warping, this is where we will stop.  So until next time enjoy warping.

See you soon, Alison.


Tuesday, January 08, 2019

Beechwood Crafts

I've discovered a lovely new website, published by Cath Snape, with lots of interesting blog posts.  Wish I'd seen it before Christmas as she has a blog about a very stylish wreath crafted from plants in her garden.  You can see the post here, in readiness for next year. (Wink!)

Although it's a new website, there's still some interesting content for you to poke around it and I look forward to seeing what else Cath has to offer in the future.

Cath has a Distinction in the Association of Weavers, Spinners and Dyers Certificate of Achievement in spinning and has been spinning over 10 years.  She now mentors spinners wanting to try their hand at the Certificate in spinning and teachers new spinners.

Wednesday, December 05, 2018

Design Workshops

Those of you who know me well realise that "design" is my motivator.  I love the process of design and more than that I love to teach it.  It really lifts my soul to see those who are terrified that they can't paint and draw work with paper, pencil and paint, cutting and sticking and working through the processes to develop something beautiful.

About 18 months ago I visited a group of spinners near York who are working towards the National Association of Guild of Weavers, Spinners and Dyers Certificate of Achievement in spinning to teach a Design for the Terrified 2 hour Masterclass!  As usual I got the same remarks I get in most classes: "I can't paint or draw", "science was my thing at school", "my art teacher kicked me out of the art class", etc., etc.  I find it so sad to hear these tales of woe.  I start by saying that the design process begins with observation and how may people in the group have to use that skill at work?

After a very intense 2 hours we had a group of spinners with some lovely design work from which they could design yarn, knitwear, weave, crochet, etc.  One student, Cath Snape, went on to gain a Distinction in her Certificate of Achievement in Spinning and produced an amazing sketchbook for her final project, a beautiful shawl.

Some of Cath's work produced in the Masterclass can be seen below.


Tuesday, July 17, 2018

Creative Spinning

In June I was invited to visit York and District Guild of Weavers, Spinners and Dyers to tutor a Creative Spinning Workshop.

It was a beautiful day at the Museum of Farming, Murton, just outside the city, where the Guild meet and I had a group of 9 spinners keen to look at yarn design.  They all brought a lovely picture for inspiration and lots and lots of fibres.  The idea is that each spinner uses a picture that inspires them with regard to colour and texture and they learn a range of "fancy" yarn techniques that could be used to produce a range of yarns.

It was such a busy day that I forgot to take photographs of the amazing yarns that were produced, but two of the spinners sent me images of their yarns, for which I'm grateful!

This is the image that Bev Baldry used to inspire her yarns.

The two images below are the same picture with the two yarns Bev produced to be used in her lounge where the picture hangs.  Bev captured the texture of the deep plum flowers in the top picture and the softness of the misty sections in the lower image.


The image below shows Jean Stother's image and yarns that were inspired by it.

Wednesday, May 16, 2018

Make Works

This time last year I had been selected to be part of the new Derby and Derbyshire section of Make Works Website.  I was interviewed and filmed along with other makers and manufacturers from our region and the section is now live! 

Make Works has been live for a number of years and running successfully in Scotland and Birmingham and you can find out all about the organisation via their Blog here and Derby and Derbyshire in particular here.

If your interested in my listing please take a look by following this link and scroll down to see the video.

The team who interviewed and filmed me last year were so kind and put me at ease during the whole process and I'm pleased with the result.

Wednesday, April 11, 2018

Deflected Double Weave on a Rigid Heddle Loom

I've just been developing a simple deflected double weave that can be woven on a rigid heddle, so I thought I'd give you a series of short video's that will help to explain how it's done.
The warping is relatively simple using two rigid heddles of the same dpi that are suitable for your yarn.  I used a  2/6's wool yarn and so used two 7.5dpi heddles.

Warp in colour groups of four, that is 4 red ends, 4 black ends repeated across the loom ending with 4 red ends.  In this example the red ends are passed 2 at a time through the slits of both heddles, followed by the black ends 2 at a time through the slits of both heddles, until you have the width of scarf you want.  Wind the warp onto the back beam ready to thread as follow:


  • The first 2 red ends go through the front heddle slit and are threaded normally through the back heddle, slit, hole.  Repeat with the second 2 red ends in the next front heddle slit and threaded normally through the back heddle, slit, hole.
  • The 2 black ends are threaded normally through the front heddle and through the slits only, through the back heddle.  Repeat with the next to black ends.
  • Continue across the warp in this way threading 4 red ends followed by 4 black ends, finishing with 4 red ends.
Here is a link to my YouTube video showing how the warped loom looks:


Now comes the weaving, starting with the red ends.   Always pick up the red warps to make the down shed when both rigid heddles are in the down or lower position.  Always pick up the black warps to make their down shed when both rigid heddles are also in the down or lower position.

Here's a link to the whole process of weaving deflected double weave:


I hope you enjoy trying this technique on your rigid heddle loom.  I'd love to hear how you get on!


Tuesday, March 07, 2017

Pantone's Top 10 Colours for Spring 2017

I recently posted my Colour Palette for March with 5 lovely colours and while browsing the "net" earlier today I spotted a post on Design Taxi about Pantone's top 10 colours for Spring 2017 and noted some similarities to my colour palette!


The Pantone colours 13-0755, 14-1315, 17-4123 and 19-4045 are the ones I think are particularly close to my chosen colours.  Two of the other colours, 17-4123 and  18-0107 are close to two of my chosen colours for February 2017's Colour Palette, what do you think?

Monday, March 06, 2017

A Years Free Sewing Patterns from McCalls!

Follow the following link to enter the Love Sewing competition to get a years supply of sewing patterns from McCalls!  All you'll need to sew your handwoven fabric.
http://swee.ps/STzUArPg

Sunday, March 05, 2017

Colour Palette of the Month - March 2017

We are just five days into the Month and Spring is beginning to show in my garden with a few miniature daffodils and the last of my snowdrops.  There is a little warmth in the sun when it does shine, so I'm going to continue this cheer with my Palette of the month.
This photograph was taken a few years ago in the evening and the light gave the blue background which I love against the pale yellow of the flowers.  It would make some lovely striped fabric or an unusual and interesting tweed.
I used a quick Stripe Generator to produce the following pattern.  The colours aren't strictly true, but it gives you a good idea of what can be produced.

With the tweed design I wanted something a little different, not true checks or diagonal stripes, but a bit more broken.

I hope you like the ideas I've developed and I'd like to hear if you've had a go at reproducing your own designs or even these.

Monday, February 06, 2017

Colour Palette of the Month - February 2017

I felt it was about time that I re-instated the Colour Palette of the Month Series, so I'm kicking it off with February's palette.  This image is of Darrynane Beach in Kerry, Ireland.  It was a fabulously sunny day and I had to shoot into the sun to get this image, which was quite tricky.   I got the sparkle on the sea and the very strong shadows which in turn gave me the lovely smoky colours for this palette.

I hope you like this Palette, it's a good one for Colour Blending with fleece dyed in the basic colours of Red, Blue, Yellow, Black and White for a striped jumper, Fair Isle knitting or as a nice muted tweed fabric.  I'd love your feedback so leave a comment if you feel like it.

Alison

Saturday, February 04, 2017

My Workshop Programme for 2017


I've been booked for quite a few workshops this year, so take a look at my Courses, Talks, Workshops and Exhibition Page above to see where I'll be teaching.  There are a number of Design for the Terrified Workshops this year, including two Master Classes for Wonderwool Wales.  I've not been back to Wonderwool Wales since I gave up Pure Tinctorial, so I'm really looking forward to going back.


Related Posts Plugin for WordPress, Blogger...