Showing posts with label warping. Show all posts

Monday, April 06, 2020

Warping Your Rigid Heddle Loom - Part 3

Back at your loom, you now should have threaded the holes in your rigid heddle and be ready to tie-on.

If you have an Ashford folding rigid heddle loom, the Knitters loom, you should ensure that the back is now lifted and the knobs tightened, if you haven’t done already.


There is more than one way to tie-on, but this is the way I was taught way back in the late 60's and although I have tried a number of different ways, this is the one I always come back to for a number of reasons which I will go into later.

I always start at the centre of my rigid heddle when selection bundles of warp ends and work my way out to the sides alternating bundles from the right and the left.

Take a bundle of ends from the centre and divide into two.  Bring the two halves either side of the centre apron tie and under the stick.  If you don't have a centre apron tie, just bring the two halves under the apron stick.  I usually work in bundles of eight, divided into two halves with four ends in each half is I've a fairly fine yarn.

Bring each half up over the top of the stick and down either side of the bundles.

Now cross the two halves at the back of the bundle and bring back to the front.

You can now tie the two halves together on top of this bundle.  Take the next bundle to the right and repeat the process.


Continue, by taking the next bundle from the left of the centre bundle and repeat.
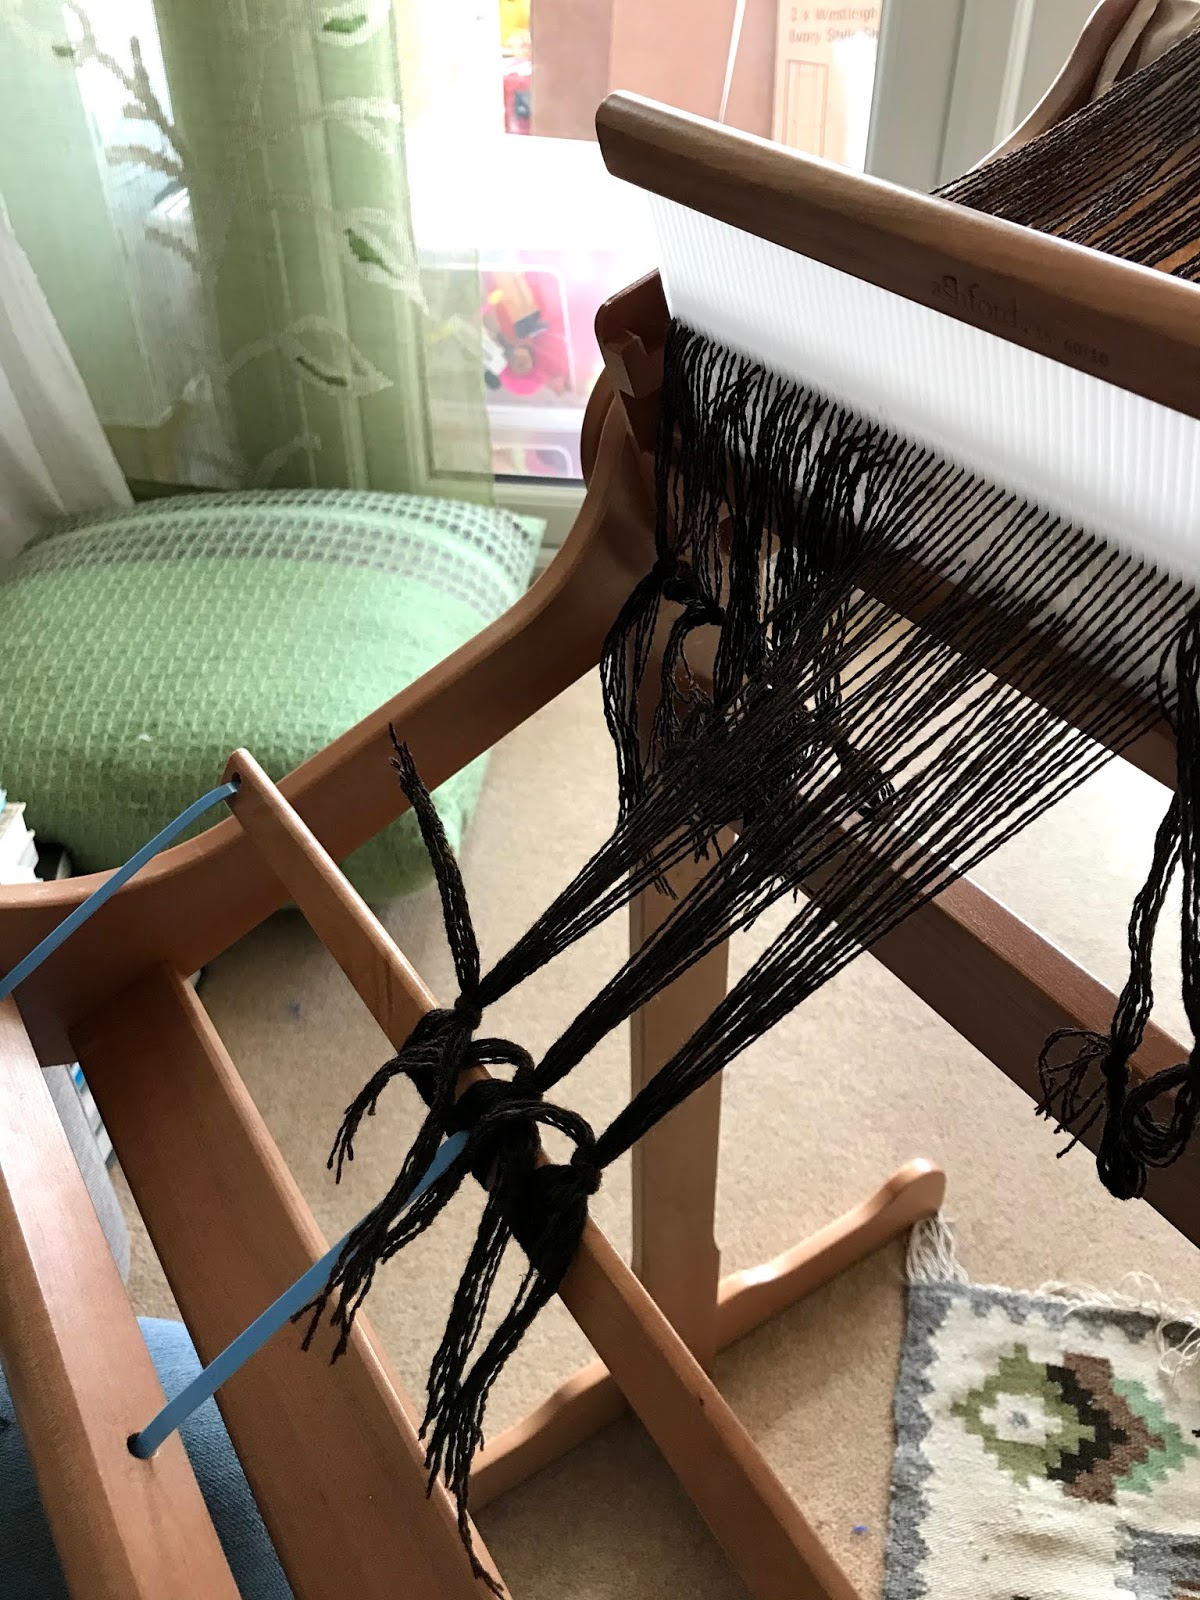
Keep going in this way, taking bundles from the right and left alternately until you get the end right edge.

So far your bundles have been tied so that the knot is at the centre of the bundle.  But if you do this at the edge you will find that the rigid heddle will rub and shred the warp ends in the selvedge.  Also, as the knot will bring the bundle in and away from he true width of the weaving you will be fighting a battle to get the selvedge out perpendicular to the end warp in the rigid heddle.

To over come both of these problems tie your knot so that it is perpendicular to the end warp.

There will be a wider gap between the bundles, but that will be sorted when you pack your warp.
Repeat this at the left side.

Now for the packing.  Again, there is more than one way to do this and I've explored a number of ways to do this and depending on my warp, it's sett and how much yarn I have to spare I do it in different ways.  In general, this is the way I pack my warps.

Take thick bundle of waste yarn or in this case a length of cotton fabric, cut into strips, measure a loop of fabric, wider than the width of your warp, open your shed and push the loop through with a stick shuttle.

Beat into place, then change your shed and repeat.

Usually three or four loops is all that is required.

Why do I use these loops?  Well, once the weaving is finished, the loom state fabric cut off and wet finished, it's really easy to pull out the loops from one side rather than having to unweave the bundles.

Next time I will show you how the weave ensuring you don't pull in the sides of the fabric.

Sunday, March 29, 2020

Warping Your Rigid Heddle Loom - Part 2

So you've managed to get back to your loom and, no warps have come adrift as you secured them all and you are ready to thread the holes.

Take your first bundle of loops, undo the slip knot and cut the loops.
Cutting the loops.
Starting from the right, leave the first pair of warps, in the first slot, where they are (this will be your selvedge) and select the second pair in the second slot.
Select your next pair of warps in a slot.
Separate them and remove one of the pair.   With your threading hook, pull this thread through the hole to the right of the slot.
Threading hook inserted in the hole to the right of the slot.

A note on threading the holes:
It's really important that this is done right, otherwise you can shred your warp ends making the weaving at the beginning very difficult.

Taking the next thread to be threaded in a hole and hold it in front of the rigid heddle.
Holding the next thread to be threaded in the hole.
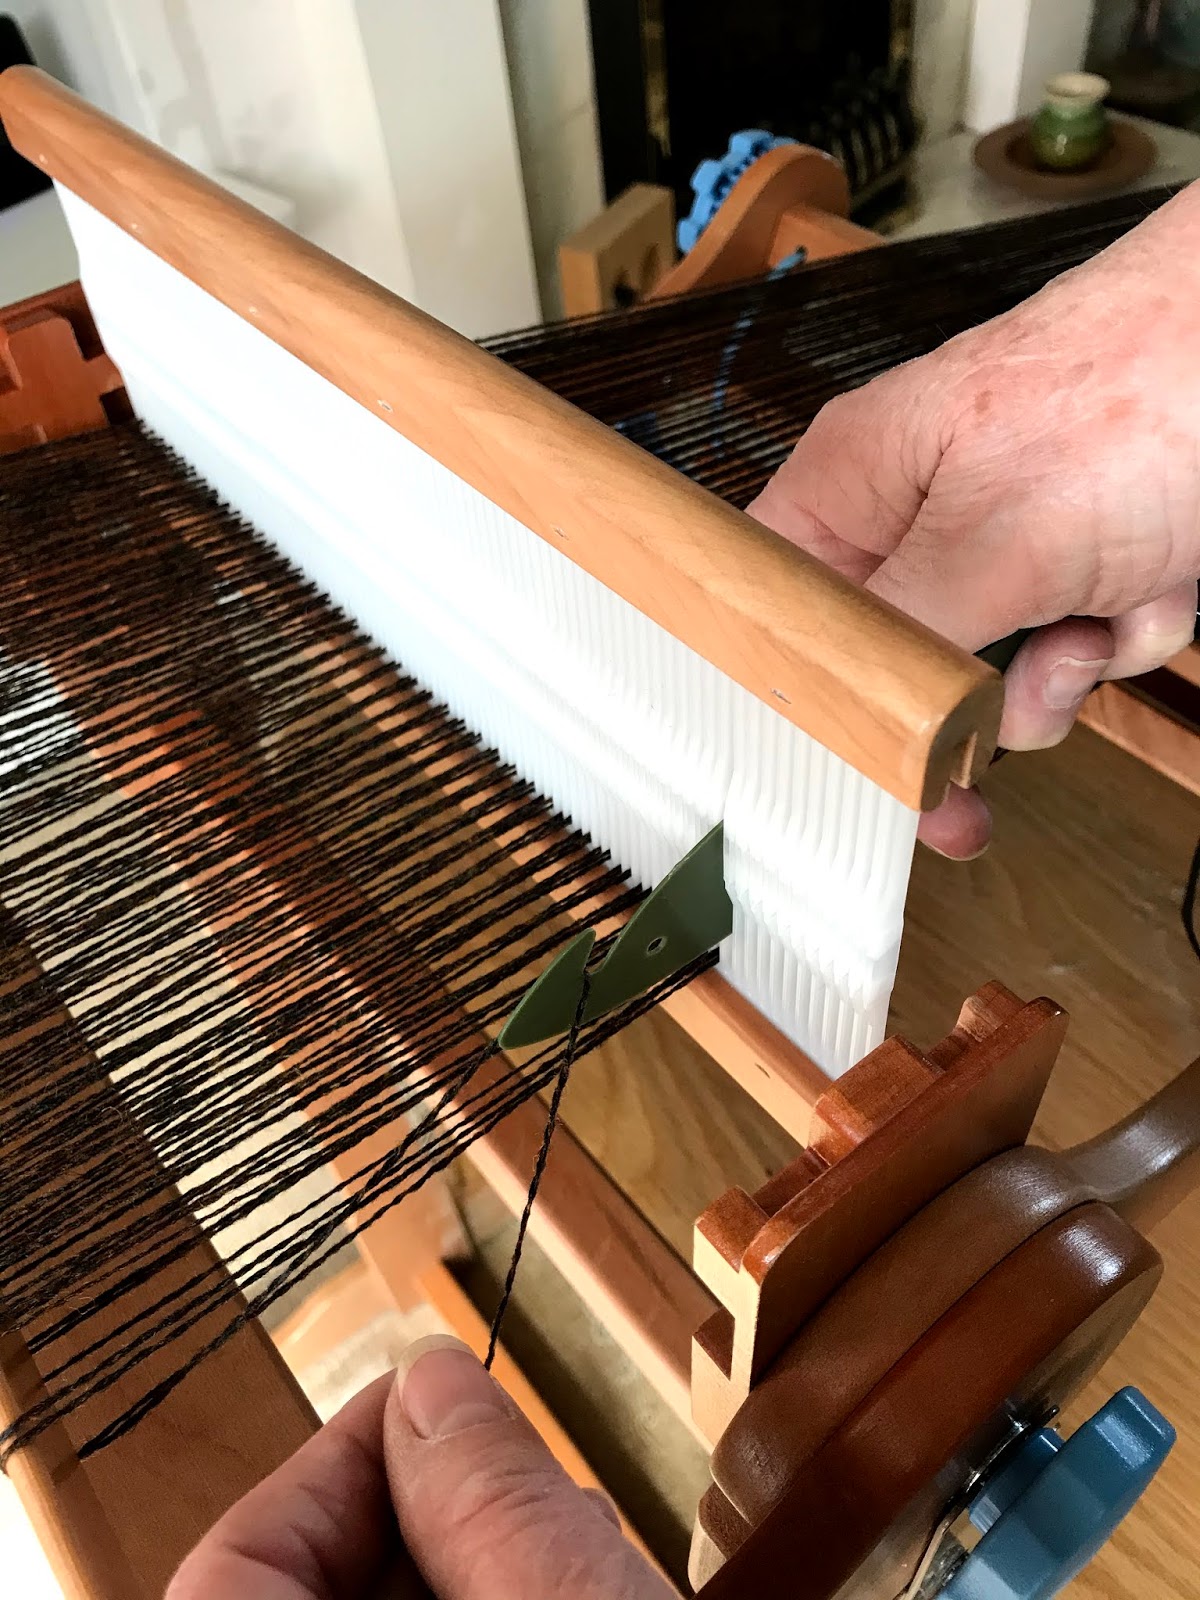
Keep hold of the thread at that point, move your hand to the back of the rigid heddle and hook the warp end between your fingers and thumb.
Hooking the warp between your fingers and thumb.
Pull the warp through the hole until there is a loop at the front.
The loop of the warp end at the front of the rigid heddle.
Remove the hook and with our fingers pull the loop completely through the hole.

Repeat the threading through holes for the first bundle of warp ends and re-tie with a slip knot.  This will prevent them falling out of the rigid heddle if you have to leave your loom.  Repeat this across the rigid heddle until you get to the last pair of warp ends.  Thread these both through the hole to the right to form the left selvedge.

You can stop at this point, but check all the bundles are re-tied with slip knots.


Tuesday, March 24, 2020

Warping your Rigid Heddle - Loom Part 1


 A quick post to help in warping your rigid heddle loom.

Clamp the back of your loom to your table and clamp your warping post at the other end of the table.

To make sure your warp will be long enough measure from the back warp stick to the post.  This distance should be:

  •  the length of your project 
  • + shrinkage (shrinkage is often estimated at about 10%, but ideally you should have woven a swatch, measured the length and width once off the loom, wet finished and remeasured.  This will give you the actual amount of shrinkage.
  • + wastage (wastage is the amount of yarn between the back warp stick and where you estimate the fell of the cloth would be in front of your heddle and the amount of yarn between the start of your weaving and the end of the warp that has been tied to the front apron).  As a rule of thumb 18" or 45cm is about the amount of shrinkage with a rigid heddle loom.
Now you're set up you need to tie your warp yarn to the back stick and using your "fish" hook pull a loop through the fist slot.  This loop is taken round the warping post .

Pulling a loop of warp yarn through a slot with a "fish hook".


Taking the loop round the warping post.
Repeat this through all your slots until you get to the last one and cut your warp off and tie onto the back warp stick.
The warp is threaded across this loom and tied to the back stick.
Now you are ready to wind your warp onto your back beam.  But first you need something to separate your warp as they wind round your back beam.  When I learnt to weave at school back in the late 60's it was always sticks, but can be strong brown paper, my preferred choice, stiff cardboard stick or similar.  Never use newspaper, though, as it's not strong enough. 
Here are a few examples of suitable recycled packaging that I use.
Cut your chosen material to the the width of your loom, 12" in this case, and stick to the back beam with Sellotape.
My warp separating material taped to the back beam.
Remove the warp from the post and work your hands up towards the rigid heddle and stand on the side of the loom with the ratchet.  With one hand on the ratchet and the other tensioning the warp begin to turn the ratchet so that the warp winds onto the back beam.
The warp is kept under tension as you wind on .
Keep winding the warp onto the back beam, inserting stiff paper until you warp end is level with the front cloth beam.
Stop winding once your end is level with the cloth beam.

This often a good place to stop if you are short of time, but its really important to secure your warps in the rigid heddle if you are going to leave warping at this point.
Secure your warp in bunches with a slip knot.
Divide the warp into bundles and use a slip knot to keep them from slipping out of the slots.

As this is a good place to pause your warping, this is where we will stop.  So until next time enjoy warping.

See you soon, Alison.


Thursday, April 05, 2012

Tip of the Month - April

 When I'm teaching new weaver to warp their looms, whether multi-shaft or rigid heddle, I often find that they shred their warps when threading the heddles.  The reason it happens is that the warp is held taught behind the heddle/slot/hole, allowing the threading hook to run down warp, catching in the ply.   This month I'll show you how to stop this happening.

The images are showing me warping my latest project on an 8 harness mechanical dobby, but the principles apply to any loom.

Grasp your warp yarn about 6" or 15cm in front of the heddle/slot/hole you're going to thread.


 Insert your threading hook in the heddle/slot/hole and move the hand holding the warp to the back of the heddle without moving your hand up the yarn.
You will now have a loop of yarn behind your heddle which can be placed over the threading hook.


Pull the loop through the heddle/slot/hole, letting go of the warp with the other hand.


I hope you all find this tip useful.  Please let me know if you have any other problems that need solving.  If I can help, I'll post them here!

Best wishes and happy weaving, spinning and dyeing.

Friday, February 03, 2012

Tip of the Month - February!

Sometimes you find that the sett isn't right when you've warped you rigid heddle loom.  Don't worry!  You can change the heddle without causing any problems.  Just secure your cross to keep the threads in the correct order.  This months tip is just that - Securing your Cross (and can apply to shaft looms too if you want to change your threading).
Open your first shed by putting the rigid heddle in the down position and insert a shed stick.
 Open the second shed by lifting the rigid heddle into the up position and insert the next shed stick.
Tie the shed sticks together so that they are secure.
Remove the wrong rigid heddle and replace with the correct one.
Now you can see the order that the warp ends need to be threaded.
Take bundles of warps and tie into a loose slip knot ready for re-denting.
Once you've re-dented in the new rigid heddle re-tie in bundles for security.
 Tie to the front warp stick.
Now everything is secure, you can add the packing like we did in Decembers Tip of the Month before you start to weave.

Monday, January 02, 2012

Tip of the Month - January

There are some times when the quick warping method just doesn't cut the mustard - when you want a long warp or when you have some complex colour changes, for example.

First make a warp using the normal method on a warping board or warping mill and secure the cross as you usually would, then chain.
As well as your threading/fish hook and rigid heddle, you will need and extra stick.
You will also need to mark the width of your warp on the rigid heddle with a couple of bits of spare thread tied at the bottom of the appropriate slits.
All the loops will be dented in the rigid heddle on a table to prevent the spare stick from falling out of the loops.
Instead of using cross sticks, insert a loop of thread either side of the cross.


Place your index finger through the loom at the end of the warp.
 Ensure you can see the cross by spreading the warp within the loop.
 You should be able to see the the first thread, which may or may not be a single thread with a loop at the end.
Whether it's a singe thread or a double thread, pull it through the first slit and place on the spare stick.
As you get used to this method you will see the colour changes emerge in the correct order ready for denting in the rigid heddle.
You will usually have loops to put over the spare stick.
 But sometimes there will be knotted threads, where the colours were changed, you just have to be careful pulling these through the slits.
Keep going sliding the spare stick through all the loops as you go.
Once all the loops are through the slits they need to be secured to the spare stick.
 Sorry this is a rather blurred image, but hopefully you can see that I've cut a long length of thread and doubled it.
Pass the two ends through the loop at the other end and put the spare stick through it, pulling tight.

Take the two ends and tie them at the opposite end of the stick.  If you've a stick with a hole at either end you can tie this string through the holes to secure the loops on the stick.
 If you don't have holes, ensure that the string is very secure by tying a number of times round the end of the spare stick.
Place the rigid heddle into the loom and the spare stick will need to be tied to the back warp stick.
You will need to loop several small pieces of string evenly across the the back warp stick.

Tie each one to the spare stick, either side of the loops and evenly across the warp.

All you need to do now is wind onto the back beam as usual.
Now you've wound onto the back beam, use your threading hook to transfer one the threads in the slit into it's adjacent hole, ensuring you keep the correct colour sequence.
In this picture the first colour sequence, on the right is one light, one dark, followed by two threads of a completely different colour.  The next sequence is three dark and one light.
Related Posts Plugin for WordPress, Blogger...