Showing posts with label tabby weave. Show all posts

Friday, April 17, 2020

Warping your Rigid Heddle Loom - Starting to Weave

The most common question I'm asked by beginners is how to keep the selvedges neat.  This post is intended to address this problem.

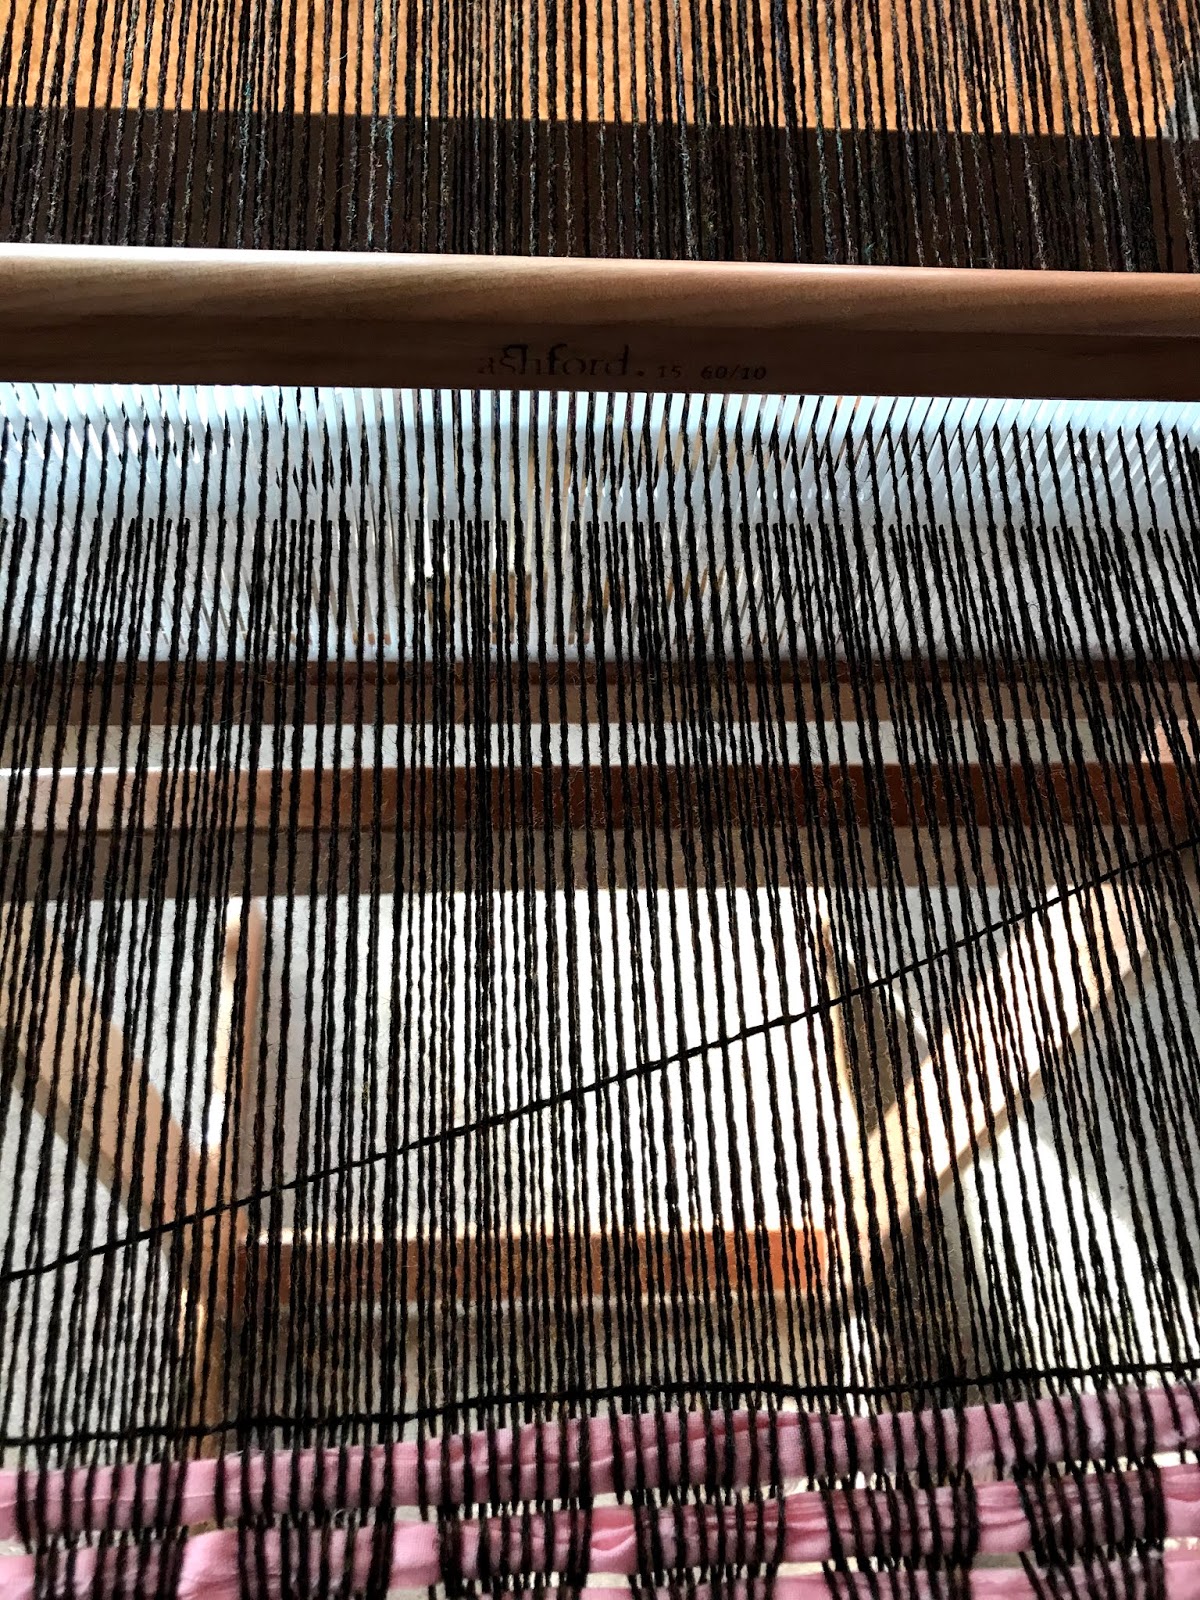
First and foremost the tying-on of your warp ends at the every edges, as we saw in Part 3, should help by ensuring that the start of the weaving is the right width to start.   The next thing is to ensure your weft is long enough to "mould" round the warp ends.  To do this lay your weft pick at 45 degrees.
Weft pick laid at 45degrees
In doing this you will find that there is enough additional weft to mould round the warp ends.  You can test this by holding the weft at the selvedge and bring it back to the fell of the cloth.  There will be about 1.5cm to 2.5cm (1/2" to 1") of weft to spare at the selvedge.  This would be how much the edges would pull in over the whole width of the weft.

The amount of weft to spare to mould round the warp ends, to prevent pull-in.
Very often there are loops at the selvedge, especially on a rigid heddle loom.  This is caused by the edge warps being at different heights as the weft turns round the selvedge.  To overcome this, hold the two adjacent warp ends at the selvedge at the same level, and at the same time give the weft a little tug to ensure it's sitting snuggly against the very edge warp end without pulling in.

Holding the two adjacent warp ends at the same level.
Once you've laid your weft at a 45 degree angle, gently ease the rigid heddle forward and watch the weft even itself out across the width of the warp.  You will see that it doesn't loop at the edge, but mould round the warp ends.  It's magic!

Watch the weft even itself across the warp as you gently ease it into position.
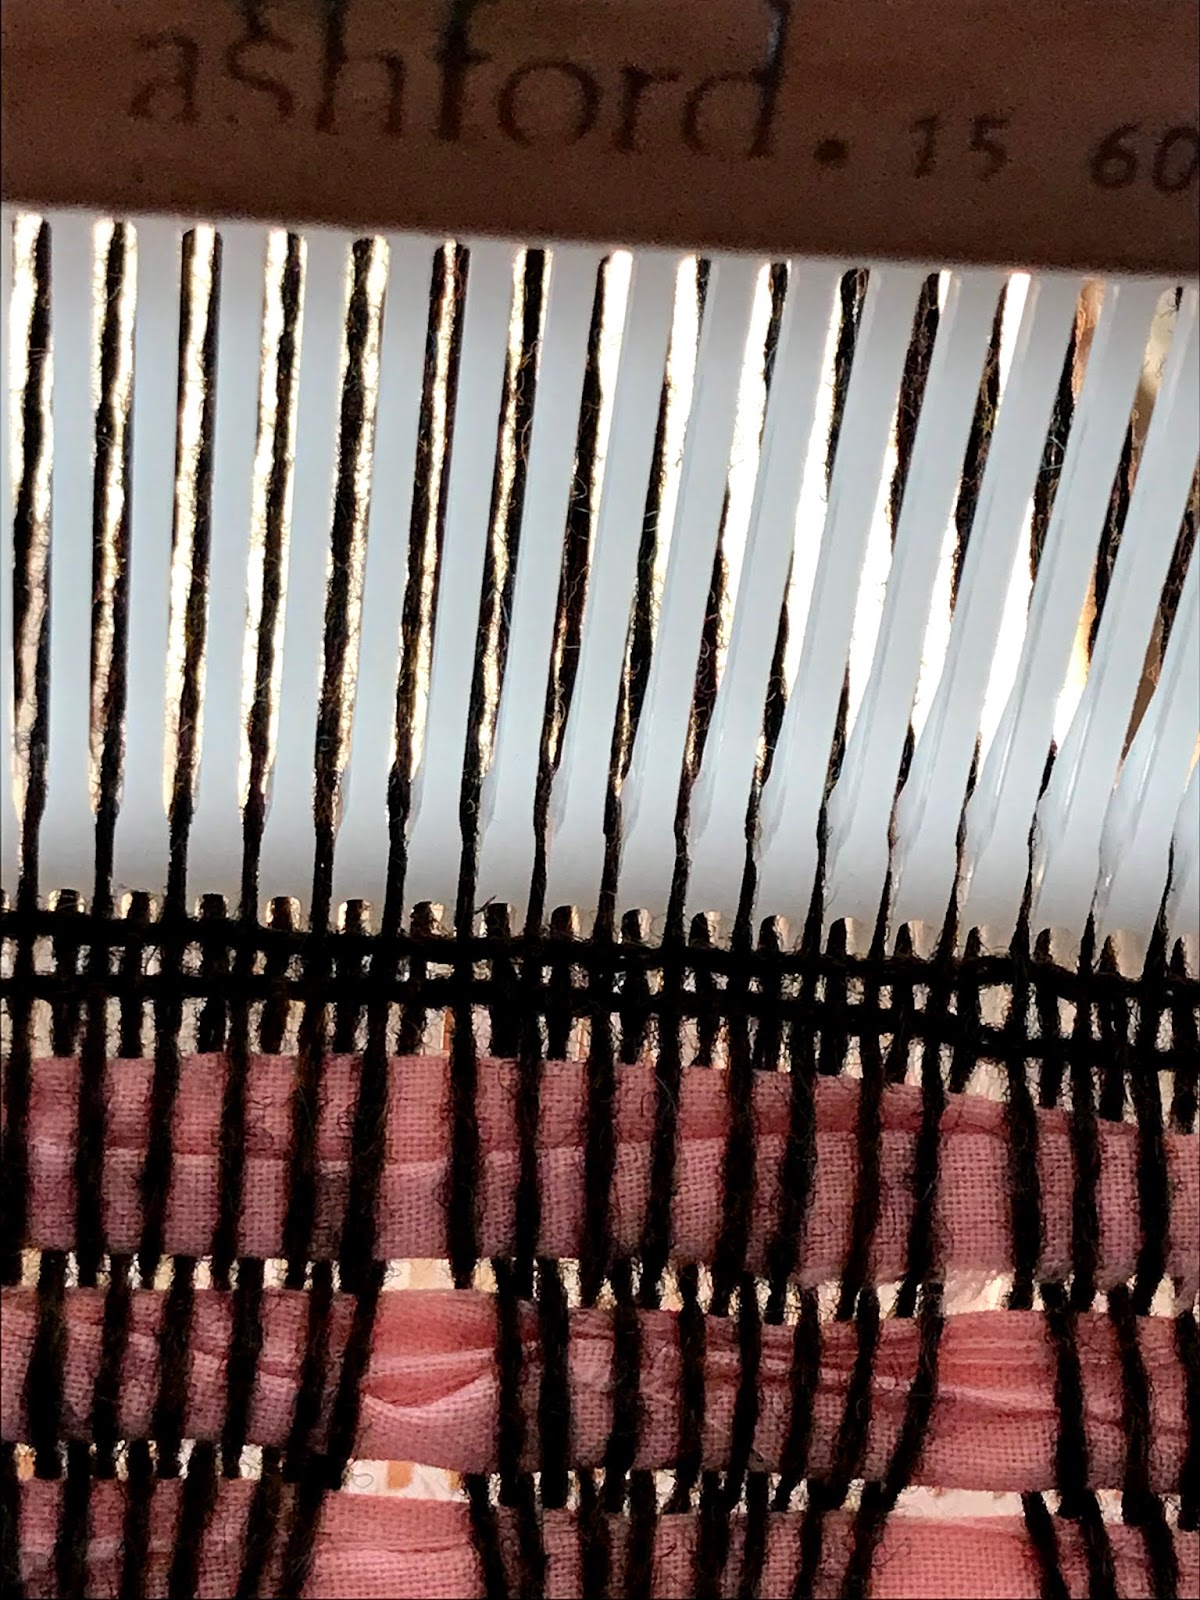
Although we say "beat" the weft into position, what we really mean is ease it into place.  You only need to "beat" the weft if you are making a rug and you need the warp ends to be covered completely to produce a weft faced weave.  For a balanced weave there should be equal warp ends and weft picks.  Two warps and two wefts should form a nice square when the weft is eased into position.  If you form a vertical oblong, you aren't beating enough, if it's an horizontal oblong your beating to much!
Two warps and two wefts should form a nice square.

Sunday, March 29, 2020

Warping Your Rigid Heddle Loom - Part 2

So you've managed to get back to your loom and, no warps have come adrift as you secured them all and you are ready to thread the holes.

Take your first bundle of loops, undo the slip knot and cut the loops.
Cutting the loops.
Starting from the right, leave the first pair of warps, in the first slot, where they are (this will be your selvedge) and select the second pair in the second slot.
Select your next pair of warps in a slot.
Separate them and remove one of the pair.   With your threading hook, pull this thread through the hole to the right of the slot.
Threading hook inserted in the hole to the right of the slot.

A note on threading the holes:
It's really important that this is done right, otherwise you can shred your warp ends making the weaving at the beginning very difficult.

Taking the next thread to be threaded in a hole and hold it in front of the rigid heddle.
Holding the next thread to be threaded in the hole.
Keep hold of the thread at that point, move your hand to the back of the rigid heddle and hook the warp end between your fingers and thumb.
Hooking the warp between your fingers and thumb.
Pull the warp through the hole until there is a loop at the front.
The loop of the warp end at the front of the rigid heddle.
Remove the hook and with our fingers pull the loop completely through the hole.

Repeat the threading through holes for the first bundle of warp ends and re-tie with a slip knot.  This will prevent them falling out of the rigid heddle if you have to leave your loom.  Repeat this across the rigid heddle until you get to the last pair of warp ends.  Thread these both through the hole to the right to form the left selvedge.

You can stop at this point, but check all the bundles are re-tied with slip knots.


Related Posts Plugin for WordPress, Blogger...