Showing posts with label Hand weaving. Show all posts

Friday, April 17, 2020

Warping your Rigid Heddle Loom - Starting to Weave

The most common question I'm asked by beginners is how to keep the selvedges neat.  This post is intended to address this problem.

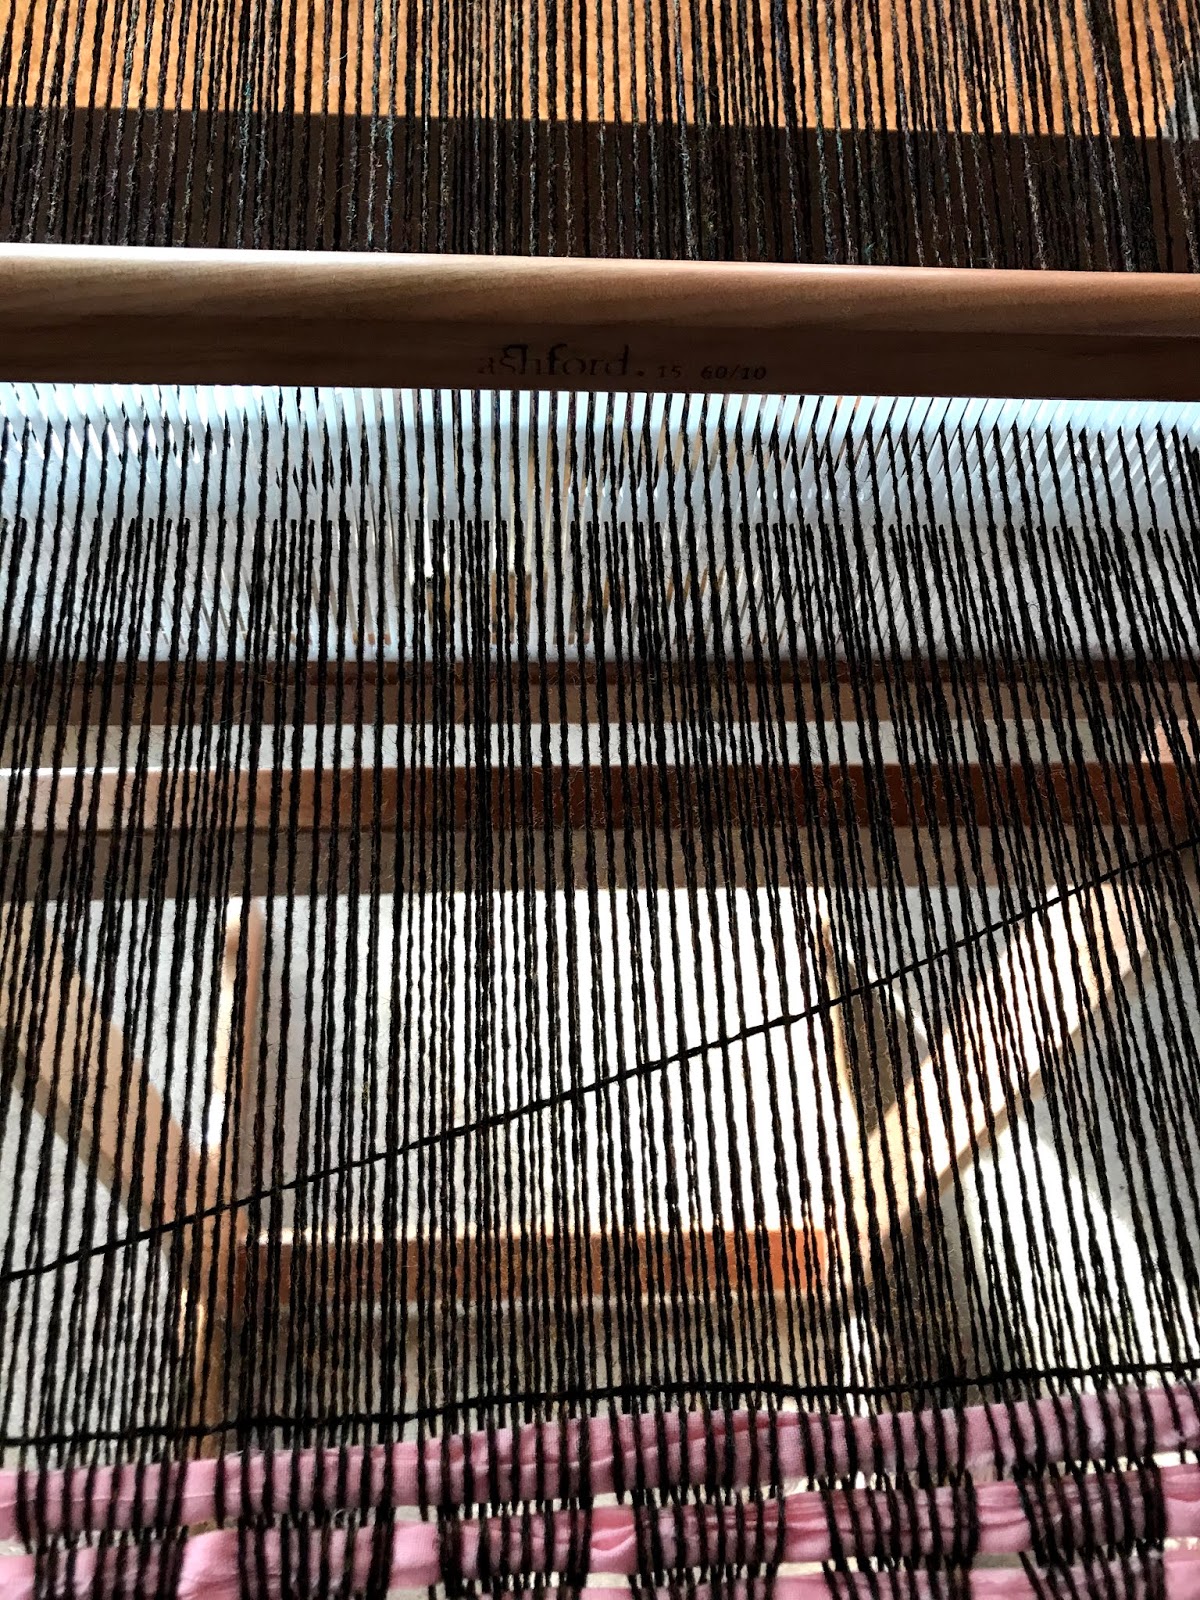
First and foremost the tying-on of your warp ends at the every edges, as we saw in Part 3, should help by ensuring that the start of the weaving is the right width to start.   The next thing is to ensure your weft is long enough to "mould" round the warp ends.  To do this lay your weft pick at 45 degrees.
Weft pick laid at 45degrees
In doing this you will find that there is enough additional weft to mould round the warp ends.  You can test this by holding the weft at the selvedge and bring it back to the fell of the cloth.  There will be about 1.5cm to 2.5cm (1/2" to 1") of weft to spare at the selvedge.  This would be how much the edges would pull in over the whole width of the weft.

The amount of weft to spare to mould round the warp ends, to prevent pull-in.
Very often there are loops at the selvedge, especially on a rigid heddle loom.  This is caused by the edge warps being at different heights as the weft turns round the selvedge.  To overcome this, hold the two adjacent warp ends at the selvedge at the same level, and at the same time give the weft a little tug to ensure it's sitting snuggly against the very edge warp end without pulling in.

Holding the two adjacent warp ends at the same level.
Once you've laid your weft at a 45 degree angle, gently ease the rigid heddle forward and watch the weft even itself out across the width of the warp.  You will see that it doesn't loop at the edge, but mould round the warp ends.  It's magic!

Watch the weft even itself across the warp as you gently ease it into position.
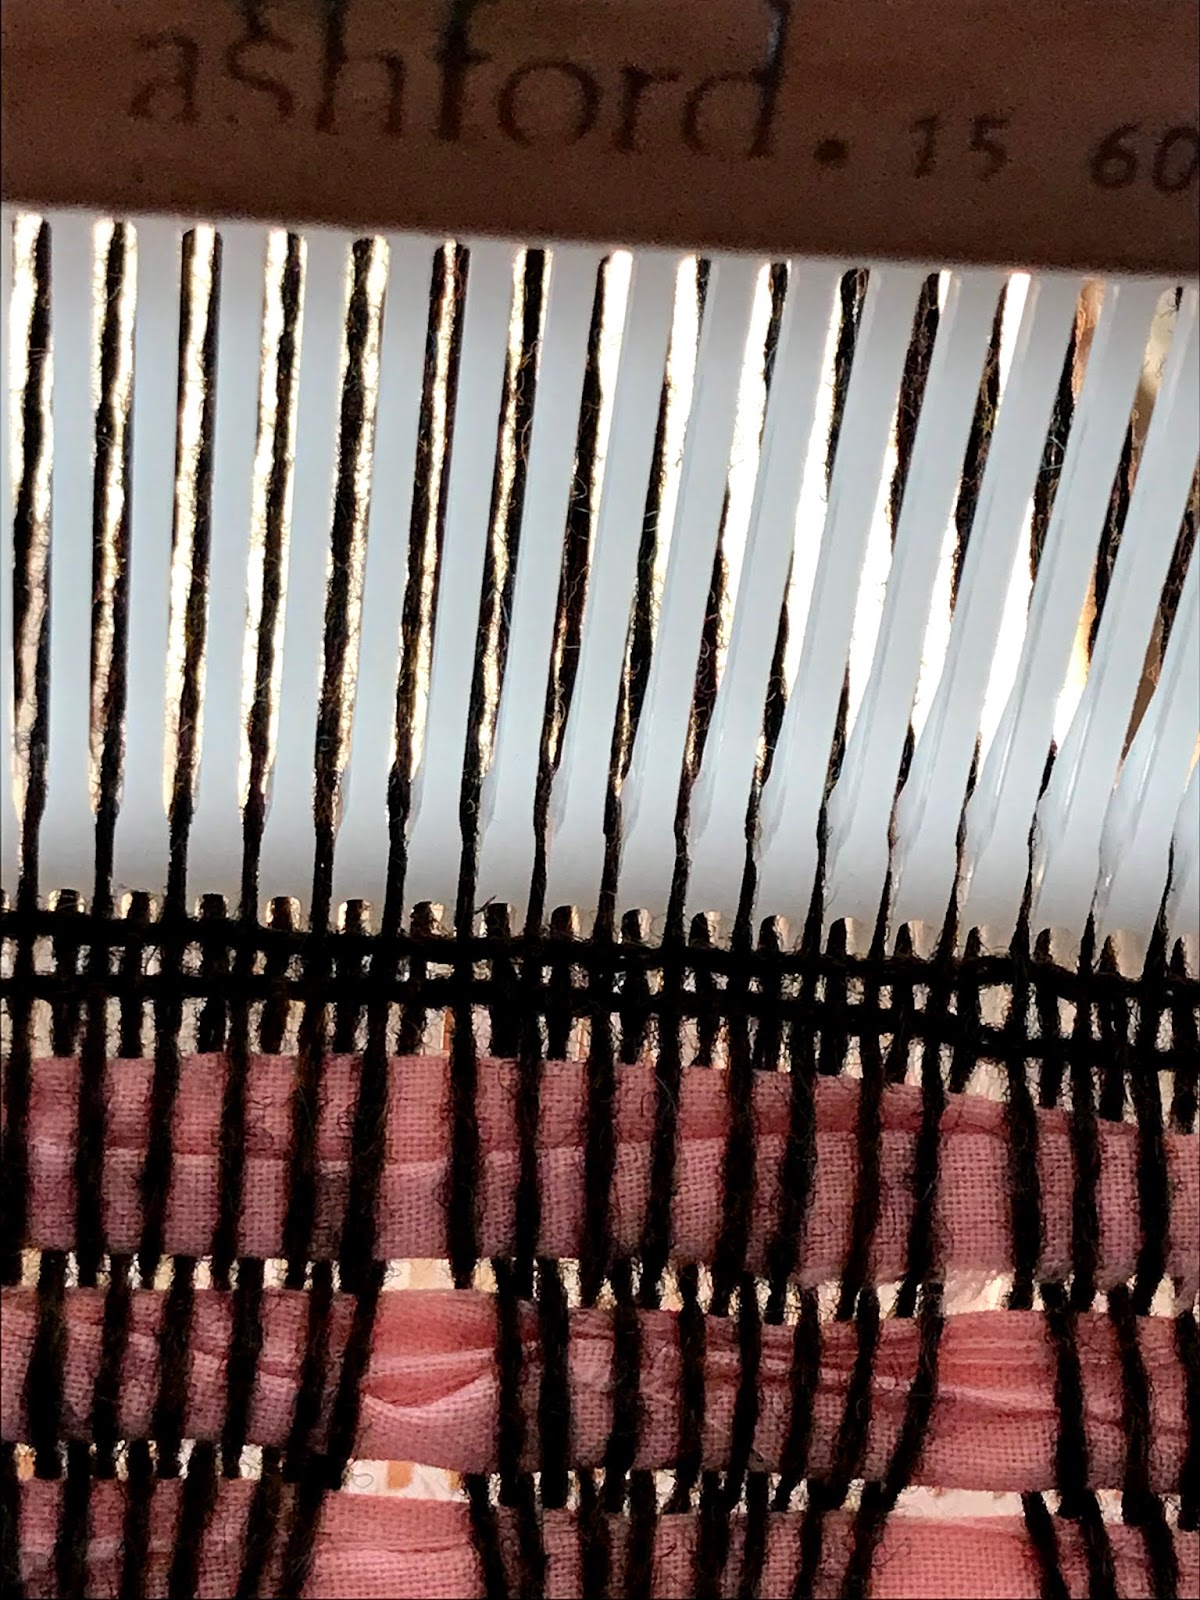
Although we say "beat" the weft into position, what we really mean is ease it into place.  You only need to "beat" the weft if you are making a rug and you need the warp ends to be covered completely to produce a weft faced weave.  For a balanced weave there should be equal warp ends and weft picks.  Two warps and two wefts should form a nice square when the weft is eased into position.  If you form a vertical oblong, you aren't beating enough, if it's an horizontal oblong your beating to much!
Two warps and two wefts should form a nice square.

Monday, April 06, 2020

Warping Your Rigid Heddle Loom - Part 3

Back at your loom, you now should have threaded the holes in your rigid heddle and be ready to tie-on.

If you have an Ashford folding rigid heddle loom, the Knitters loom, you should ensure that the back is now lifted and the knobs tightened, if you haven’t done already.


There is more than one way to tie-on, but this is the way I was taught way back in the late 60's and although I have tried a number of different ways, this is the one I always come back to for a number of reasons which I will go into later.

I always start at the centre of my rigid heddle when selection bundles of warp ends and work my way out to the sides alternating bundles from the right and the left.

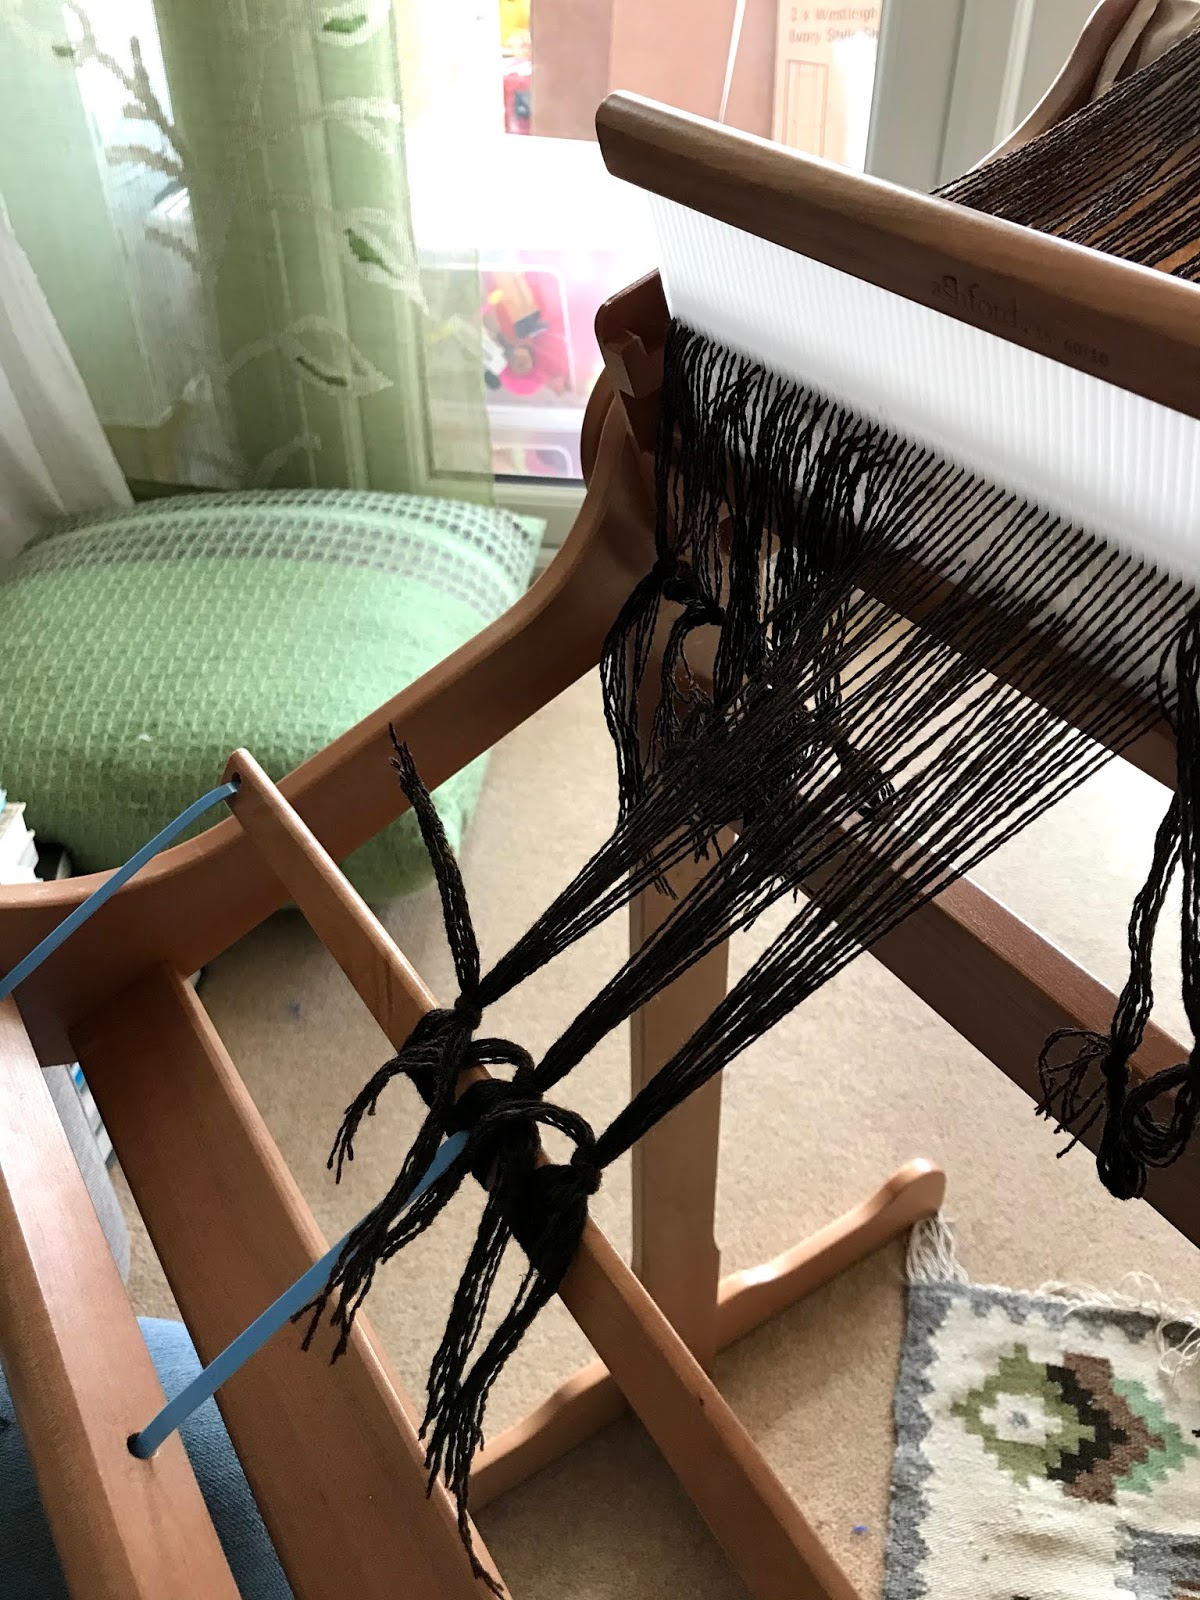
Take a bundle of ends from the centre and divide into two.  Bring the two halves either side of the centre apron tie and under the stick.  If you don't have a centre apron tie, just bring the two halves under the apron stick.  I usually work in bundles of eight, divided into two halves with four ends in each half is I've a fairly fine yarn.

Bring each half up over the top of the stick and down either side of the bundles.

Now cross the two halves at the back of the bundle and bring back to the front.

You can now tie the two halves together on top of this bundle.  Take the next bundle to the right and repeat the process.


Continue, by taking the next bundle from the left of the centre bundle and repeat.

Keep going in this way, taking bundles from the right and left alternately until you get the end right edge.

So far your bundles have been tied so that the knot is at the centre of the bundle.  But if you do this at the edge you will find that the rigid heddle will rub and shred the warp ends in the selvedge.  Also, as the knot will bring the bundle in and away from he true width of the weaving you will be fighting a battle to get the selvedge out perpendicular to the end warp in the rigid heddle.

To over come both of these problems tie your knot so that it is perpendicular to the end warp.

There will be a wider gap between the bundles, but that will be sorted when you pack your warp.
Repeat this at the left side.

Now for the packing.  Again, there is more than one way to do this and I've explored a number of ways to do this and depending on my warp, it's sett and how much yarn I have to spare I do it in different ways.  In general, this is the way I pack my warps.

Take thick bundle of waste yarn or in this case a length of cotton fabric, cut into strips, measure a loop of fabric, wider than the width of your warp, open your shed and push the loop through with a stick shuttle.

Beat into place, then change your shed and repeat.

Usually three or four loops is all that is required.

Why do I use these loops?  Well, once the weaving is finished, the loom state fabric cut off and wet finished, it's really easy to pull out the loops from one side rather than having to unweave the bundles.

Next time I will show you how the weave ensuring you don't pull in the sides of the fabric.

Sunday, March 29, 2020

Warping Your Rigid Heddle Loom - Part 2

So you've managed to get back to your loom and, no warps have come adrift as you secured them all and you are ready to thread the holes.

Take your first bundle of loops, undo the slip knot and cut the loops.
Cutting the loops.
Starting from the right, leave the first pair of warps, in the first slot, where they are (this will be your selvedge) and select the second pair in the second slot.
Select your next pair of warps in a slot.
Separate them and remove one of the pair.   With your threading hook, pull this thread through the hole to the right of the slot.
Threading hook inserted in the hole to the right of the slot.

A note on threading the holes:
It's really important that this is done right, otherwise you can shred your warp ends making the weaving at the beginning very difficult.

Taking the next thread to be threaded in a hole and hold it in front of the rigid heddle.
Holding the next thread to be threaded in the hole.
Keep hold of the thread at that point, move your hand to the back of the rigid heddle and hook the warp end between your fingers and thumb.
Hooking the warp between your fingers and thumb.
Pull the warp through the hole until there is a loop at the front.
The loop of the warp end at the front of the rigid heddle.
Remove the hook and with our fingers pull the loop completely through the hole.

Repeat the threading through holes for the first bundle of warp ends and re-tie with a slip knot.  This will prevent them falling out of the rigid heddle if you have to leave your loom.  Repeat this across the rigid heddle until you get to the last pair of warp ends.  Thread these both through the hole to the right to form the left selvedge.

You can stop at this point, but check all the bundles are re-tied with slip knots.


Wednesday, May 16, 2018

Make Works

This time last year I had been selected to be part of the new Derby and Derbyshire section of Make Works Website.  I was interviewed and filmed along with other makers and manufacturers from our region and the section is now live! 

Make Works has been live for a number of years and running successfully in Scotland and Birmingham and you can find out all about the organisation via their Blog here and Derby and Derbyshire in particular here.

If your interested in my listing please take a look by following this link and scroll down to see the video.

The team who interviewed and filmed me last year were so kind and put me at ease during the whole process and I'm pleased with the result.

Saturday, December 17, 2011

Tip of the month - December 2011

I've been teaching quite a few rigid heddle workshops and courses recently,  mostly to new weavers, so I wanted to start a "tips" section on this blog in the hope it will be useful to all weavers, not just "newbies".
This month I had some lovely new people who had purchased new rigid heddle looms, could warp with the quick warping method and were getting along just fine.   One thing I did notice, though, was how they pack the warp at the beginning!  Some of the manufacturers suggest packing with card!  Such a lot of precious warp is wasted with this method, so I've been showing my students how to pack the start of the warp, to get the gaps filled quickly.
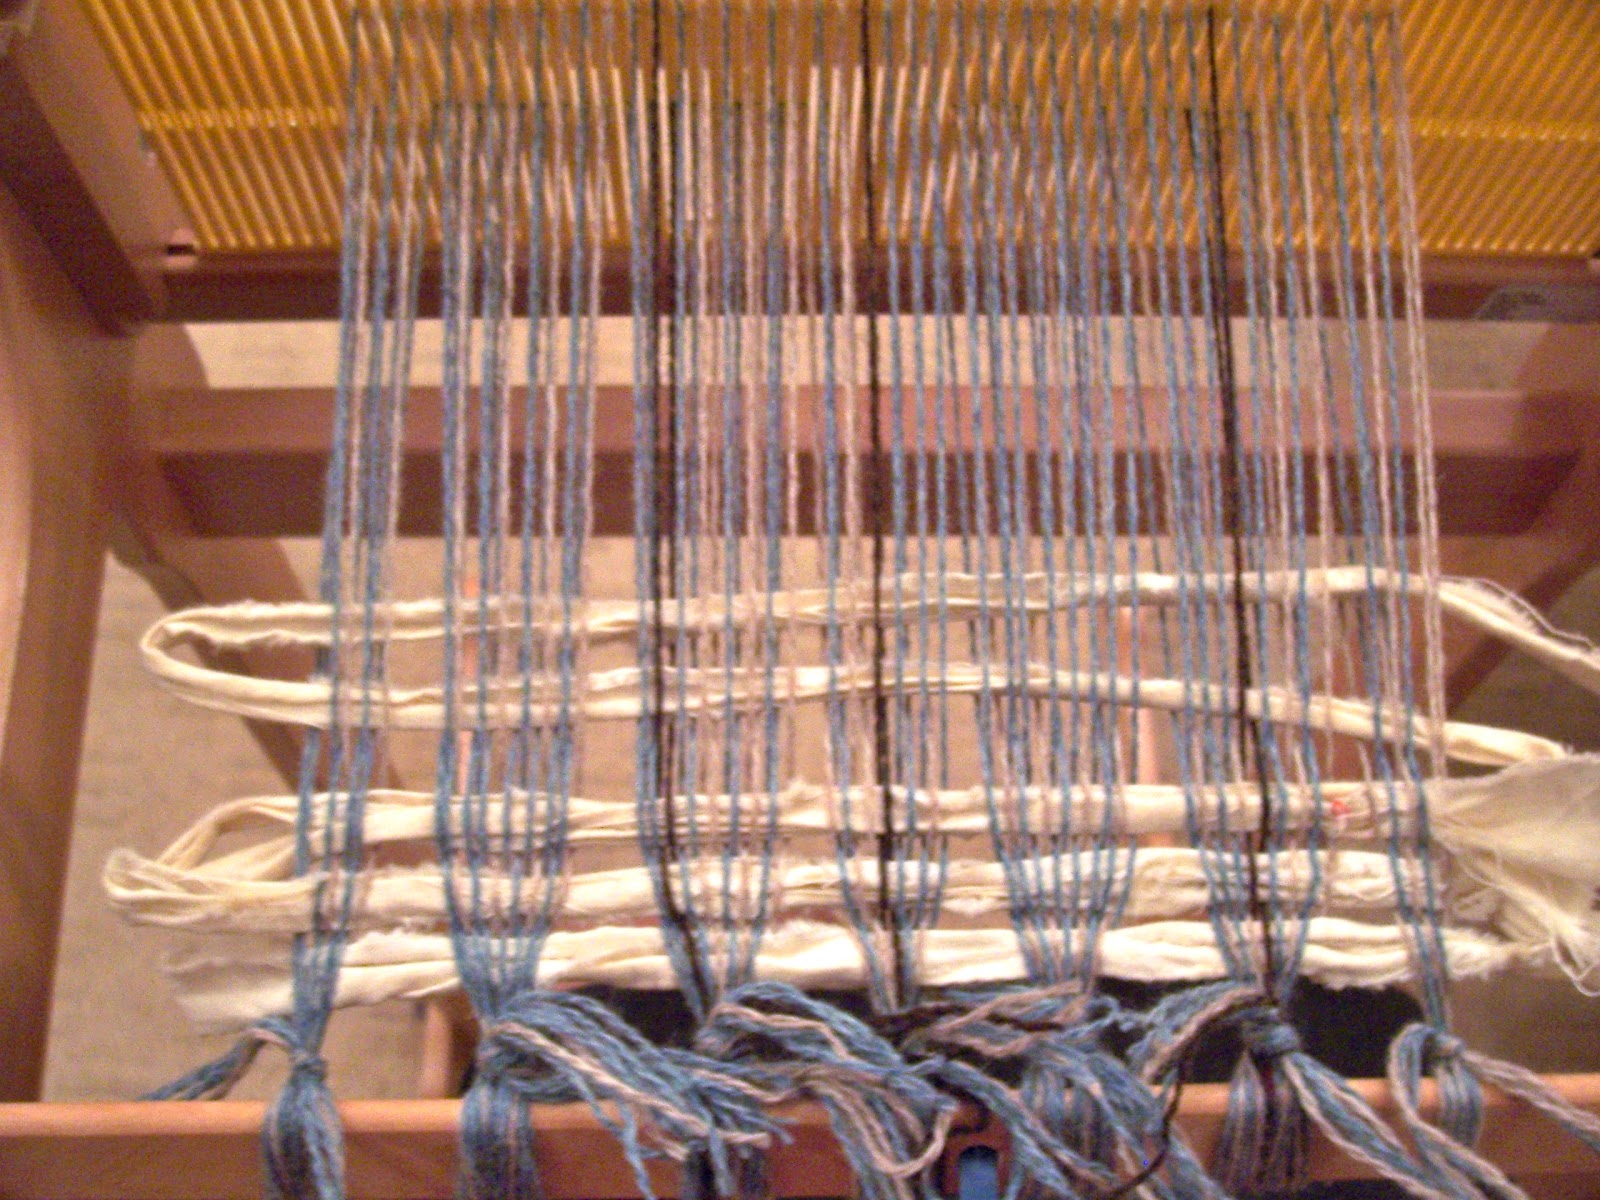
There are two types of packing I use, one is old thrums (the ends (threads) that's left at the end of a warp) which is something new weavers seldom have, and the other is long strips of fabric.
Even with a small square or rectangle of fabric you can cut long strips.
Take your fabric and cut 1" strips across the width, but not quite all the way across (see the image on the left).  This will give you a long strip which you can then use as your packing.

Fold the beginning of your strip so that it's just wider than your warp width and place in the shed.  Change your shed and from the same side of the warp, fold another section of your strip of fabric and place in this shed.
Beat each section of packing as you go and continue to add the packing until you find that the gaps between the bundles of warp ends are closed.


You will find with this method that the gaps close fairly quickly and that you waste much less warp.


Another nice thing is that the packing can remain in the warp until the cloth is finished and when you want to remove if, all you need to do is pull the first  the first piece of the strip and it all unravels nicely!

Sunday, May 08, 2011

Spinning and Weaving in the Modern World

Recently, I've been re-evaluating my practice, not just what I do, but also, how I do it.  I came into spinning and weaving towards the end of the "hippy" era and I've worked really hard over the last 40+ years to raise the perception of those two crafts as genuine "Master Crafts".  So many people expect them to have a roughness about them, expecting them to have a "homespun" feel, not perfect.

When I was learning my craft, weaving in particular, I also learnt the history of weaving which included the Medieval Guild System.  All weavers started out as an apprentice to a Master Weaver, then served up to 25 years as a Journeyman, working all over the country, and Europe, with other Master Weavers, before finally becoming a Master Weaver themselves when they presented their masterpiece to their appropriate guild.  I feel I've served my apprenticeship, gaining my GCE 'O' and 'A' Levels way back in the early 70's and since then I've attended numerous coures with other well established weaver all over the UK.  I now feel I'm a Master Weaver in my own right having gained two awards from the Bradford Textile Society!

Similarly, I first experienced spinning while at school so as to understand yarn construction for my weaving.  I've served under numerous spinning tutors such as Sue Hiley-Harris and Jenny Parry over the last 35 years and, again, feel I understand sufficient technicalities of spinning to be able to construct most types of yarn.  Yes, I can spin beautiful smoothly spun and plied yarns, but choose to spin brightly coloured textured yarn, Art Yarn to most new spinners, but fancy yarn to me!  Oh, and I understand exactly how they are spun, using the irregularities in preparation, spinning and plying to produce texture where and when I want it.

So why is it that my hand weaving is perceived to be machine woven?  Why can't beautifully hand woven fabrics be accepted in the Craft world along side the likes of broken crockery re-assembled in the most odd way which represent the best of modern craft!  I don't want my fabrics to be rough and ready proudly showing the mistakes to authenticate that it's hand woven, I've worked to hard and long to be a Master Weaver to let my standards slip just to show it's hand made.

Nor do I want to wear a mob cap and shawl to show that I'm a spinner!  Yes, the mob cap and shawl has it's place to bring history alive, but I spin in a modern world and want to attract the next generation to spinning.  After all, knitters don't sit in a shawl at their Knit and Natter Groups, they sit in cafes and tea shops, on buses and at stations, knitting gorgeous yarns, often hand spun and hand dyed, into fabulous garments.

Even though I'm just back from ISEND (International Symposium and Exhibition on Natural Dyes) and intend to dye all my yarns, fibres or fabrics with natural dyes, I'm not a "hippy", alternative living person, wearing recycled sludge coloured clothes.  My colours are bright and clear and full of life and I fully embrace sustainability, but again I live in a modern world!  Fashion and interiors can also embrace sustainability without looking grubby and dull, embracing the Slow Cloth Movement.  Most of the participants who exhibited at ISEND, including the traders, all had contemporary fabrics to show, the fabulous fabrics from The Weavers Studio are a case in point.

So what am I trying to say here in all this ramble?   I may be nearer 60 than 50, but I'm a modern woman and, therefore, a modern weaver and spinner.  I dream of a world where we all wear beautifully designed hand spun, hand dyed and hand woven fabrics that will last a lifetime and be cherished as modern heirlooms.  Sadly, that's not going to happen, but, we should all be promoting sustainability, which includes spinning, weaving and natural dyeing, and we should all embrace the Slow Cloth Movement.  So think twice when you pop into one of those "fast fashion" shops.  Think, how long will this garment last?  Who spun, dyed and wove it?  Were they paid a proper wage?  Did the company practice sustainability during production?

I'd love to hear your comments?

Sunday, February 20, 2011

Murano Glass Tea Light Cushions Finished!

I've finished and delivered the last two cushions of the Murano Glass Tea Light project.  I'm so pleased with the results and so is my client.  I had to dye all the yarn myself and had the silk soaking for nearly a week so that they took the dye without being patchy.


This is a close-up of the fabric with the gold spun silk.


Here is the completed cushion with the gold spun silk.


This image is of the fabric with the yellow spun silk detail.


Here is the completed cushion with the yellow spun silk woven detail.


For details of the design, dyeing and weaving, you will have to wait for Simply Design, the new book by Jane Deane and me.  It will be out by the end of the year.

Monday, March 29, 2010

Make your own Fabrics!


Have you ever wondered how wonderful it would be to make your own fabrics, whether for suitings, skirts or for cushions, for example?

Do you think you need a huge loom that would fill your dining room?  Do you think that all you can weave on a simple loom is scarves and table runners?

Well you might be pleasantly surprised!  Most of the introductory courses I teach are on simple and affordable looms that not only allow you to weave scarves, but beautiful fabrics that can be used to make clothes.

If you attended one of the courses I run for Skylark Holiday, for example, such as the Introduction to Weaving course you would:

  • Learn to warp a loom.
  • Weave a scarf.
  • Learn how to plan a warp for fabric for a chosen project.
  • Weave a piece of fabric for a cushion cover or small article of your choice.
  • Finish your fabric to that it can be cut and sewn.
  • Finish the ends of your scarf without knotting.
Hear I am (on the left) wearing a suit made of hand woven fabric.  The swatches for this suit were woven on a simple rigid heddle loom.


Bibi (on the right) is weaving her hand woven scarf.   She designed the fabric herself and it was woven on a rigid heddle loom.  It could be cut and sewn to make a skirt, for example. 

So you see, it's not so difficult!


Wednesday, August 12, 2009

Why would any one want fabric from a bespoke hand weaver?!

Well, I know a lot of perspective clients ask this question before they even ask to see my work and I can understand their concerns, after all a piece of hand woven fabric is really quite expensive compared to fabric from a retailer who's fabrics are mass produced and repeatable, even though they are beautiful!

So, what can I offer that's different?
Well here's what!

  • My fabrics are designed exclusively for you. For example, one of your prize possessions can be used as the design source to ensure that the collection or piece woven by me will sit comfortably in your home and no one else will have anything like it!
  • I will only use hand weaving methods that industry can't emulate. I can manipulate my yarns and weaves in ways that industry can only dream about! My designs can be current and cutting edge as a result.
  • Top quality yarns, sourced in the UK or Europe, that haven't had to travel thousands of miles from the Far East, are my preferred choice, but I can use yarns that you specify, again ensuring something totally unique for you.
  • You will have access to my sketchbooks and mood boards at all stages, enabling you to feel totally informed.
  • I will present a set of woven swatches for you to choose from before I start to weave you collection or piece of work.

In short, you will have a collection or piece of work that not only reflects your self and your life style, but will have a little bit of me in it, and after all I'm an award winning textile designer!

Related Posts Plugin for WordPress, Blogger...