Showing posts with label warps. Show all posts

Friday, April 17, 2020

Warping your Rigid Heddle Loom - Starting to Weave

The most common question I'm asked by beginners is how to keep the selvedges neat.  This post is intended to address this problem.

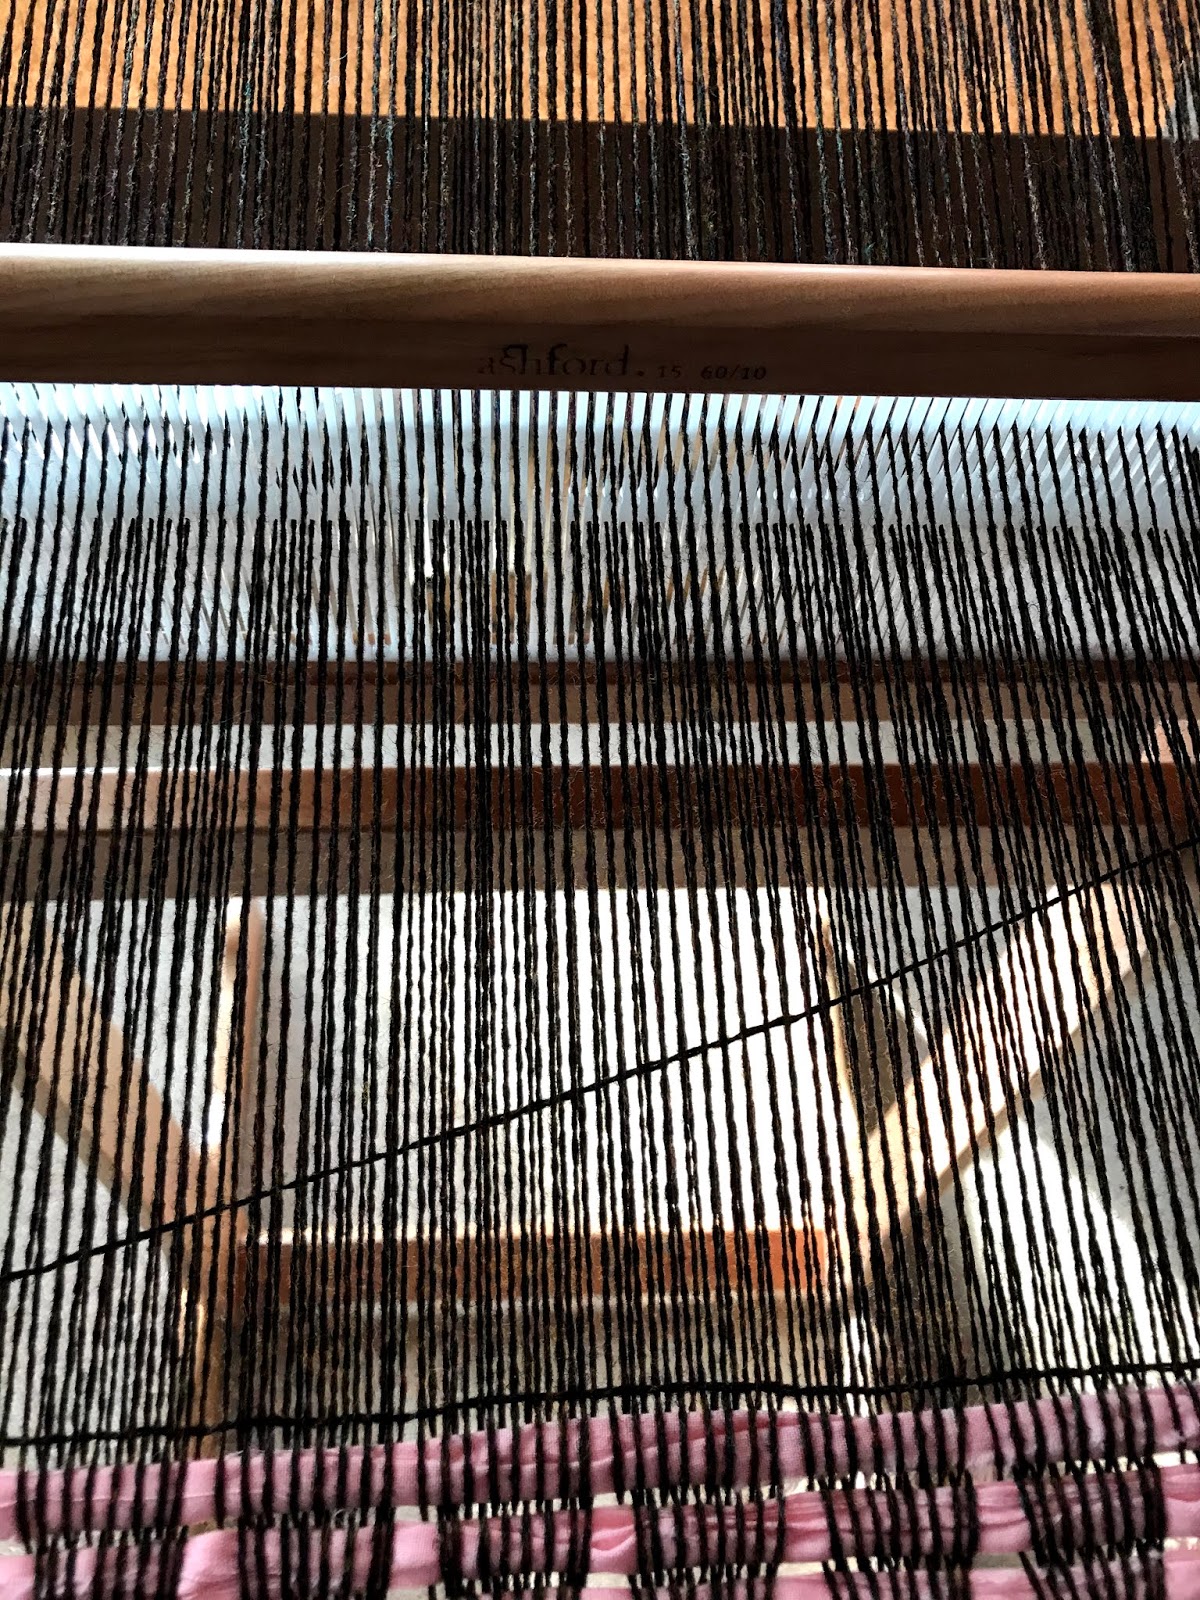
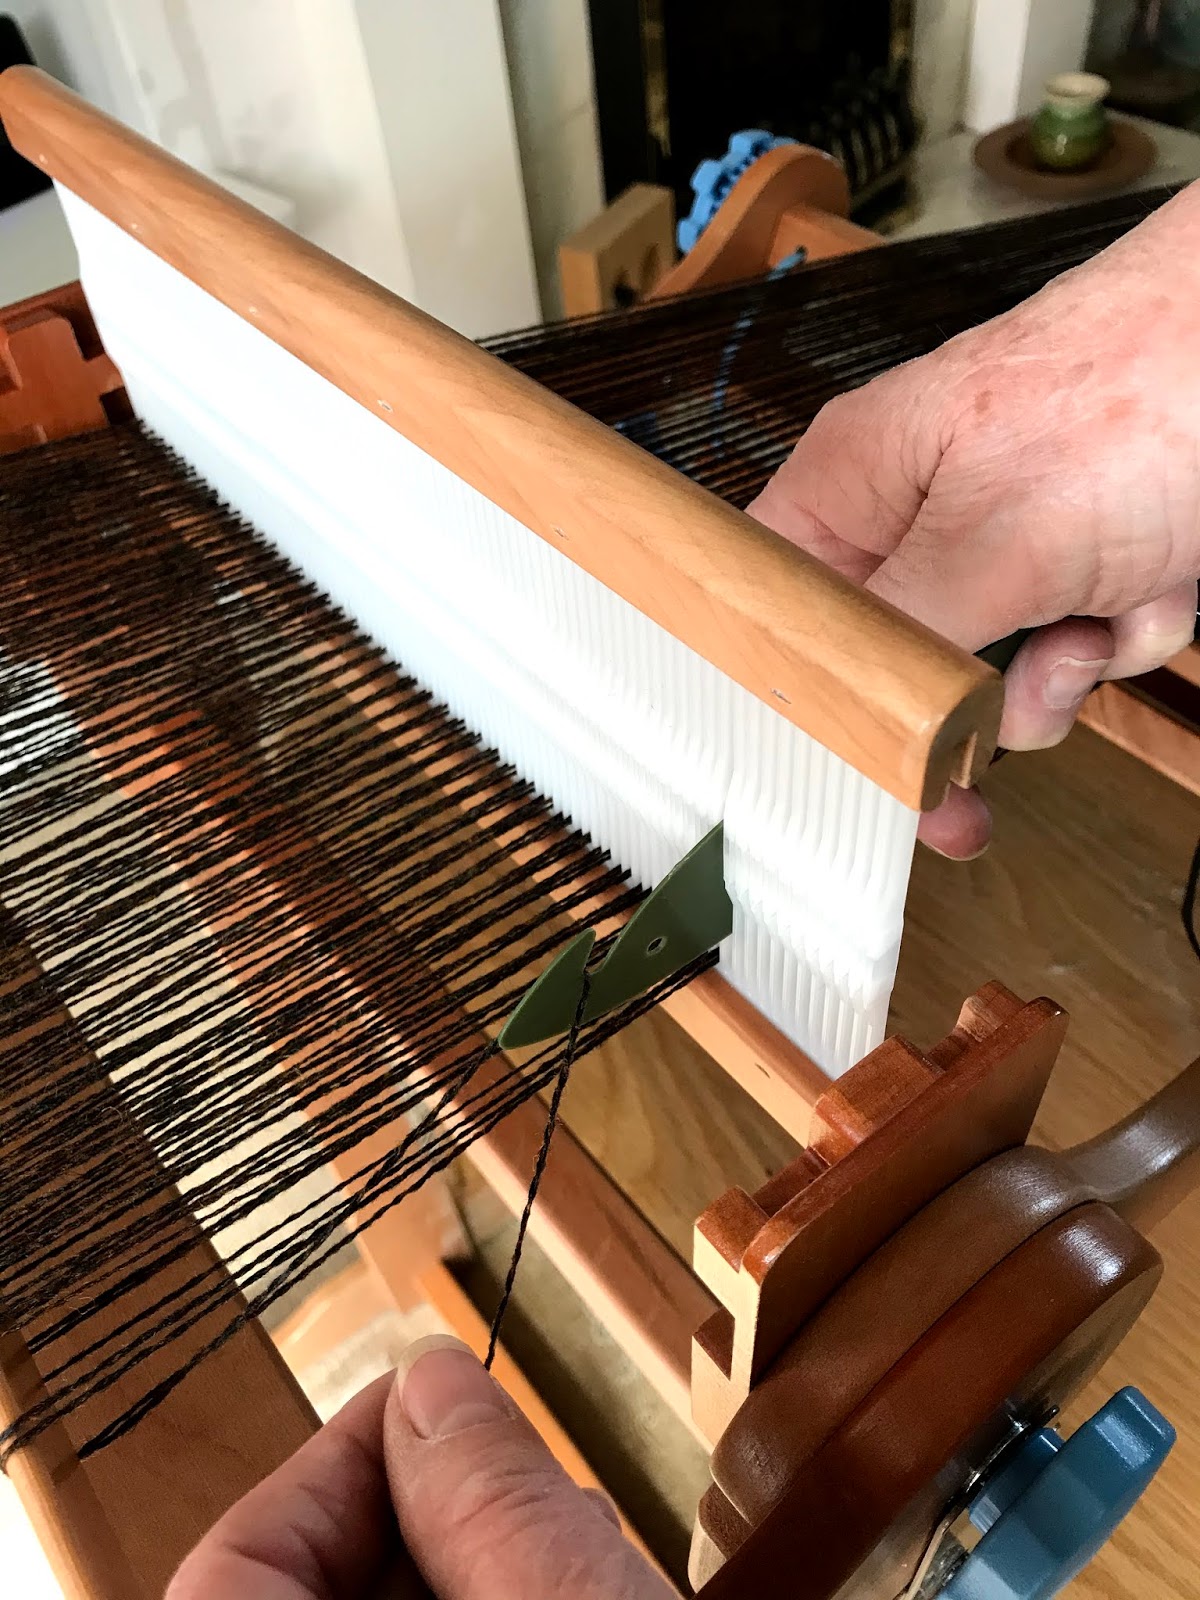
First and foremost the tying-on of your warp ends at the every edges, as we saw in Part 3, should help by ensuring that the start of the weaving is the right width to start.   The next thing is to ensure your weft is long enough to "mould" round the warp ends.  To do this lay your weft pick at 45 degrees.
Weft pick laid at 45degrees
In doing this you will find that there is enough additional weft to mould round the warp ends.  You can test this by holding the weft at the selvedge and bring it back to the fell of the cloth.  There will be about 1.5cm to 2.5cm (1/2" to 1") of weft to spare at the selvedge.  This would be how much the edges would pull in over the whole width of the weft.

The amount of weft to spare to mould round the warp ends, to prevent pull-in.
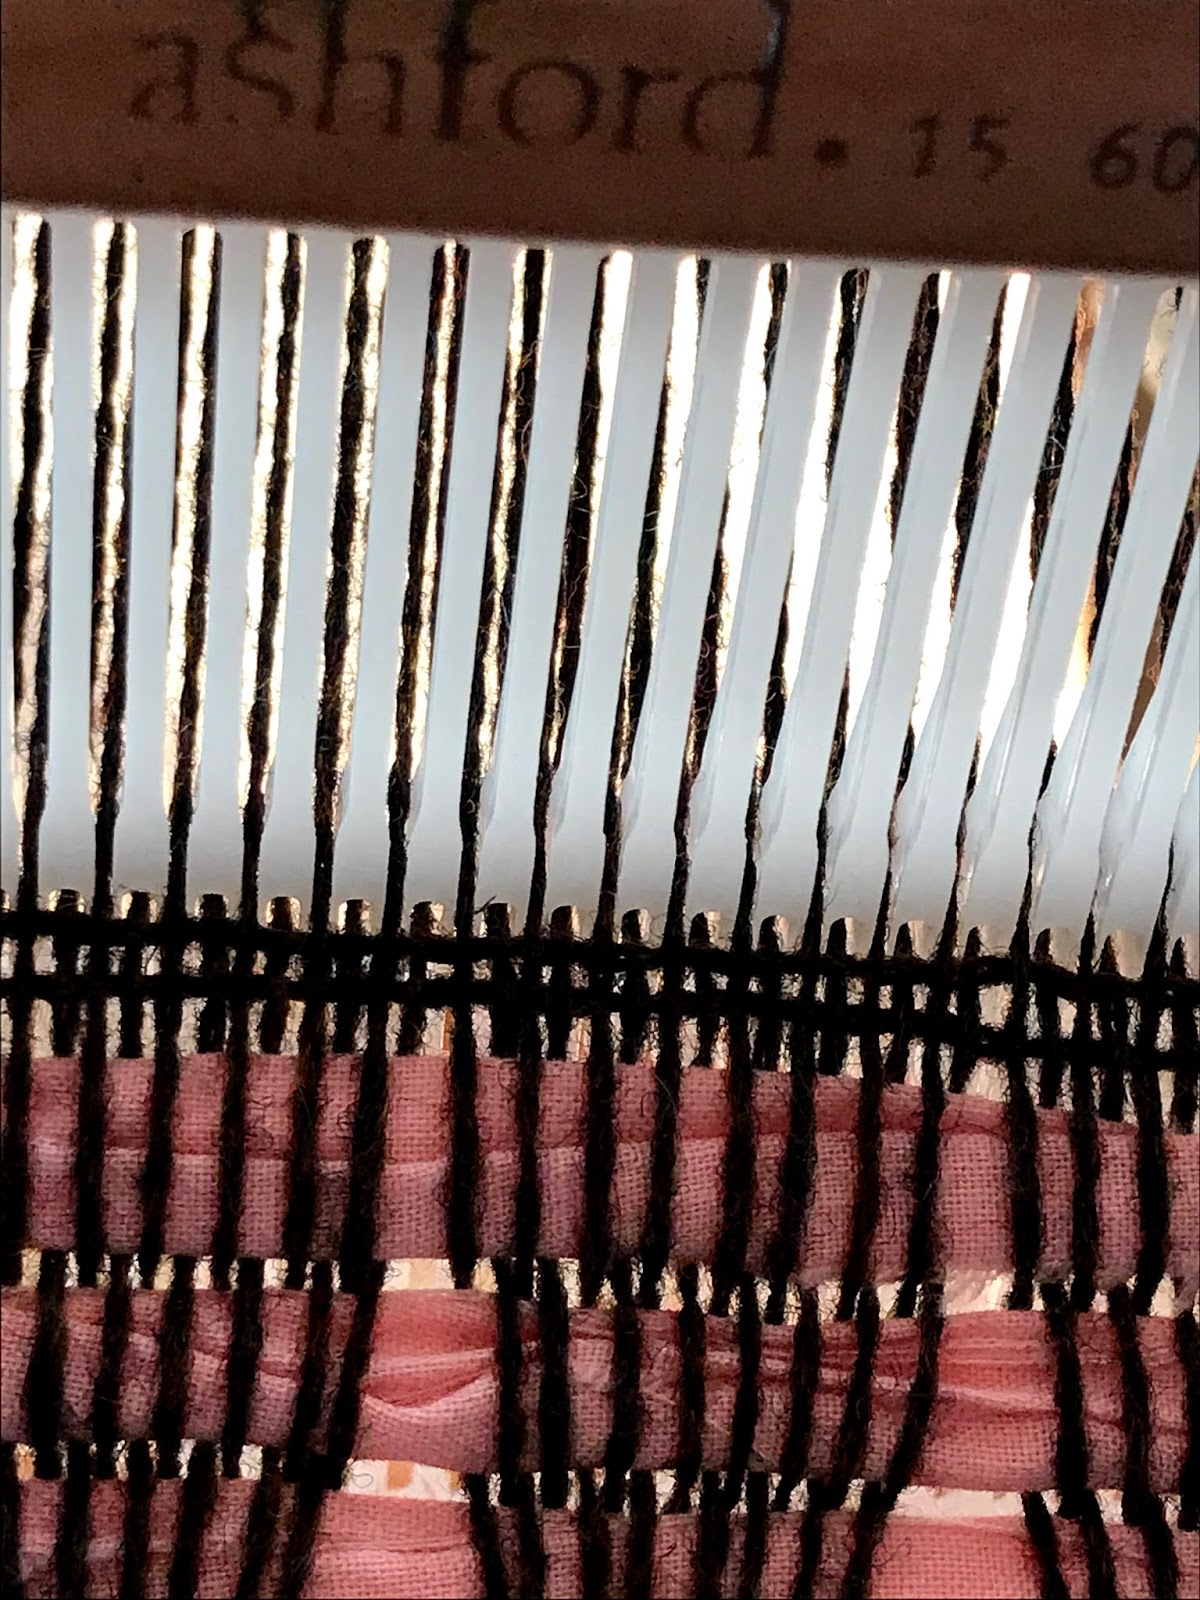
Very often there are loops at the selvedge, especially on a rigid heddle loom.  This is caused by the edge warps being at different heights as the weft turns round the selvedge.  To overcome this, hold the two adjacent warp ends at the selvedge at the same level, and at the same time give the weft a little tug to ensure it's sitting snuggly against the very edge warp end without pulling in.

Holding the two adjacent warp ends at the same level.
Once you've laid your weft at a 45 degree angle, gently ease the rigid heddle forward and watch the weft even itself out across the width of the warp.  You will see that it doesn't loop at the edge, but mould round the warp ends.  It's magic!

Watch the weft even itself across the warp as you gently ease it into position.
Although we say "beat" the weft into position, what we really mean is ease it into place.  You only need to "beat" the weft if you are making a rug and you need the warp ends to be covered completely to produce a weft faced weave.  For a balanced weave there should be equal warp ends and weft picks.  Two warps and two wefts should form a nice square when the weft is eased into position.  If you form a vertical oblong, you aren't beating enough, if it's an horizontal oblong your beating to much!
Two warps and two wefts should form a nice square.

Tuesday, March 24, 2020

Warping your Rigid Heddle - Loom Part 1


 A quick post to help in warping your rigid heddle loom.

Clamp the back of your loom to your table and clamp your warping post at the other end of the table.

To make sure your warp will be long enough measure from the back warp stick to the post.  This distance should be:

  •  the length of your project 
  • + shrinkage (shrinkage is often estimated at about 10%, but ideally you should have woven a swatch, measured the length and width once off the loom, wet finished and remeasured.  This will give you the actual amount of shrinkage.
  • + wastage (wastage is the amount of yarn between the back warp stick and where you estimate the fell of the cloth would be in front of your heddle and the amount of yarn between the start of your weaving and the end of the warp that has been tied to the front apron).  As a rule of thumb 18" or 45cm is about the amount of shrinkage with a rigid heddle loom.
Now you're set up you need to tie your warp yarn to the back stick and using your "fish" hook pull a loop through the fist slot.  This loop is taken round the warping post .

Pulling a loop of warp yarn through a slot with a "fish hook".


Taking the loop round the warping post.
Repeat this through all your slots until you get to the last one and cut your warp off and tie onto the back warp stick.
The warp is threaded across this loom and tied to the back stick.
Now you are ready to wind your warp onto your back beam.  But first you need something to separate your warp as they wind round your back beam.  When I learnt to weave at school back in the late 60's it was always sticks, but can be strong brown paper, my preferred choice, stiff cardboard stick or similar.  Never use newspaper, though, as it's not strong enough. 
Here are a few examples of suitable recycled packaging that I use.
Cut your chosen material to the the width of your loom, 12" in this case, and stick to the back beam with Sellotape.
My warp separating material taped to the back beam.
Remove the warp from the post and work your hands up towards the rigid heddle and stand on the side of the loom with the ratchet.  With one hand on the ratchet and the other tensioning the warp begin to turn the ratchet so that the warp winds onto the back beam.
The warp is kept under tension as you wind on .
Keep winding the warp onto the back beam, inserting stiff paper until you warp end is level with the front cloth beam.
Stop winding once your end is level with the cloth beam.

This often a good place to stop if you are short of time, but its really important to secure your warps in the rigid heddle if you are going to leave warping at this point.
Secure your warp in bunches with a slip knot.
Divide the warp into bundles and use a slip knot to keep them from slipping out of the slots.

As this is a good place to pause your warping, this is where we will stop.  So until next time enjoy warping.

See you soon, Alison.


Thursday, April 05, 2012

Tip of the Month - April

 When I'm teaching new weaver to warp their looms, whether multi-shaft or rigid heddle, I often find that they shred their warps when threading the heddles.  The reason it happens is that the warp is held taught behind the heddle/slot/hole, allowing the threading hook to run down warp, catching in the ply.   This month I'll show you how to stop this happening.

The images are showing me warping my latest project on an 8 harness mechanical dobby, but the principles apply to any loom.

Grasp your warp yarn about 6" or 15cm in front of the heddle/slot/hole you're going to thread.


 Insert your threading hook in the heddle/slot/hole and move the hand holding the warp to the back of the heddle without moving your hand up the yarn.
You will now have a loop of yarn behind your heddle which can be placed over the threading hook.


Pull the loop through the heddle/slot/hole, letting go of the warp with the other hand.


I hope you all find this tip useful.  Please let me know if you have any other problems that need solving.  If I can help, I'll post them here!

Best wishes and happy weaving, spinning and dyeing.

Thursday, May 14, 2009

Warps

I've just been updating some notes for a week-end workshop I'm tutoring near Scarborough in a couple of weeks time. I decided I'd add some photographs to replace the black and white sketches I previously used. As these first images are about making warps I thought it might be a good idea to add them to the blog.

On the left you will see the whole warp, 72", wound on the warping posts which I found on Ebay! They are super little posts, very sturdy and enable me to warp in a small area, ideal for workshops. I don't usually make two crosses, but for this project I needed two.
This next image shows the thread used to count the cross. After every ten ends I over-lap the thread at the cross and you will see in the image that I've counted 4 bundles of 10, then I had 9 ends to finish with.

You will also see the guide string I use. This has a loop at one end which goes over the first post of the warping board, a knot at the desired length, in this instance 72", and a longish tail to wrap round the last post on the board. I can then determine which is the best route on the board to take the warp for it's desired length.

As I had an odd number of ends, 49 in total for this project, I had to tie the last end to the post on the board, just disappearing out of shot on the first image!
Related Posts Plugin for WordPress, Blogger...