If you have an Ashford folding rigid heddle loom, the Knitters loom, you should ensure that the back is now lifted and the knobs tightened, if you haven’t done already.

There is more than one way to tie-on, but this is the way I was taught way back in the late 60's and although I have tried a number of different ways, this is the one I always come back to for a number of reasons which I will go into later.
I always start at the centre of my rigid heddle when selection bundles of warp ends and work my way out to the sides alternating bundles from the right and the left.
Take a bundle of ends from the centre and divide into two. Bring the two halves either side of the centre apron tie and under the stick. If you don't have a centre apron tie, just bring the two halves under the apron stick. I usually work in bundles of eight, divided into two halves with four ends in each half is I've a fairly fine yarn.

Bring each half up over the top of the stick and down either side of the bundles.

Now cross the two halves at the back of the bundle and bring back to the front.

You can now tie the two halves together on top of this bundle. Take the next bundle to the right and repeat the process.

Continue, by taking the next bundle from the left of the centre bundle and repeat.
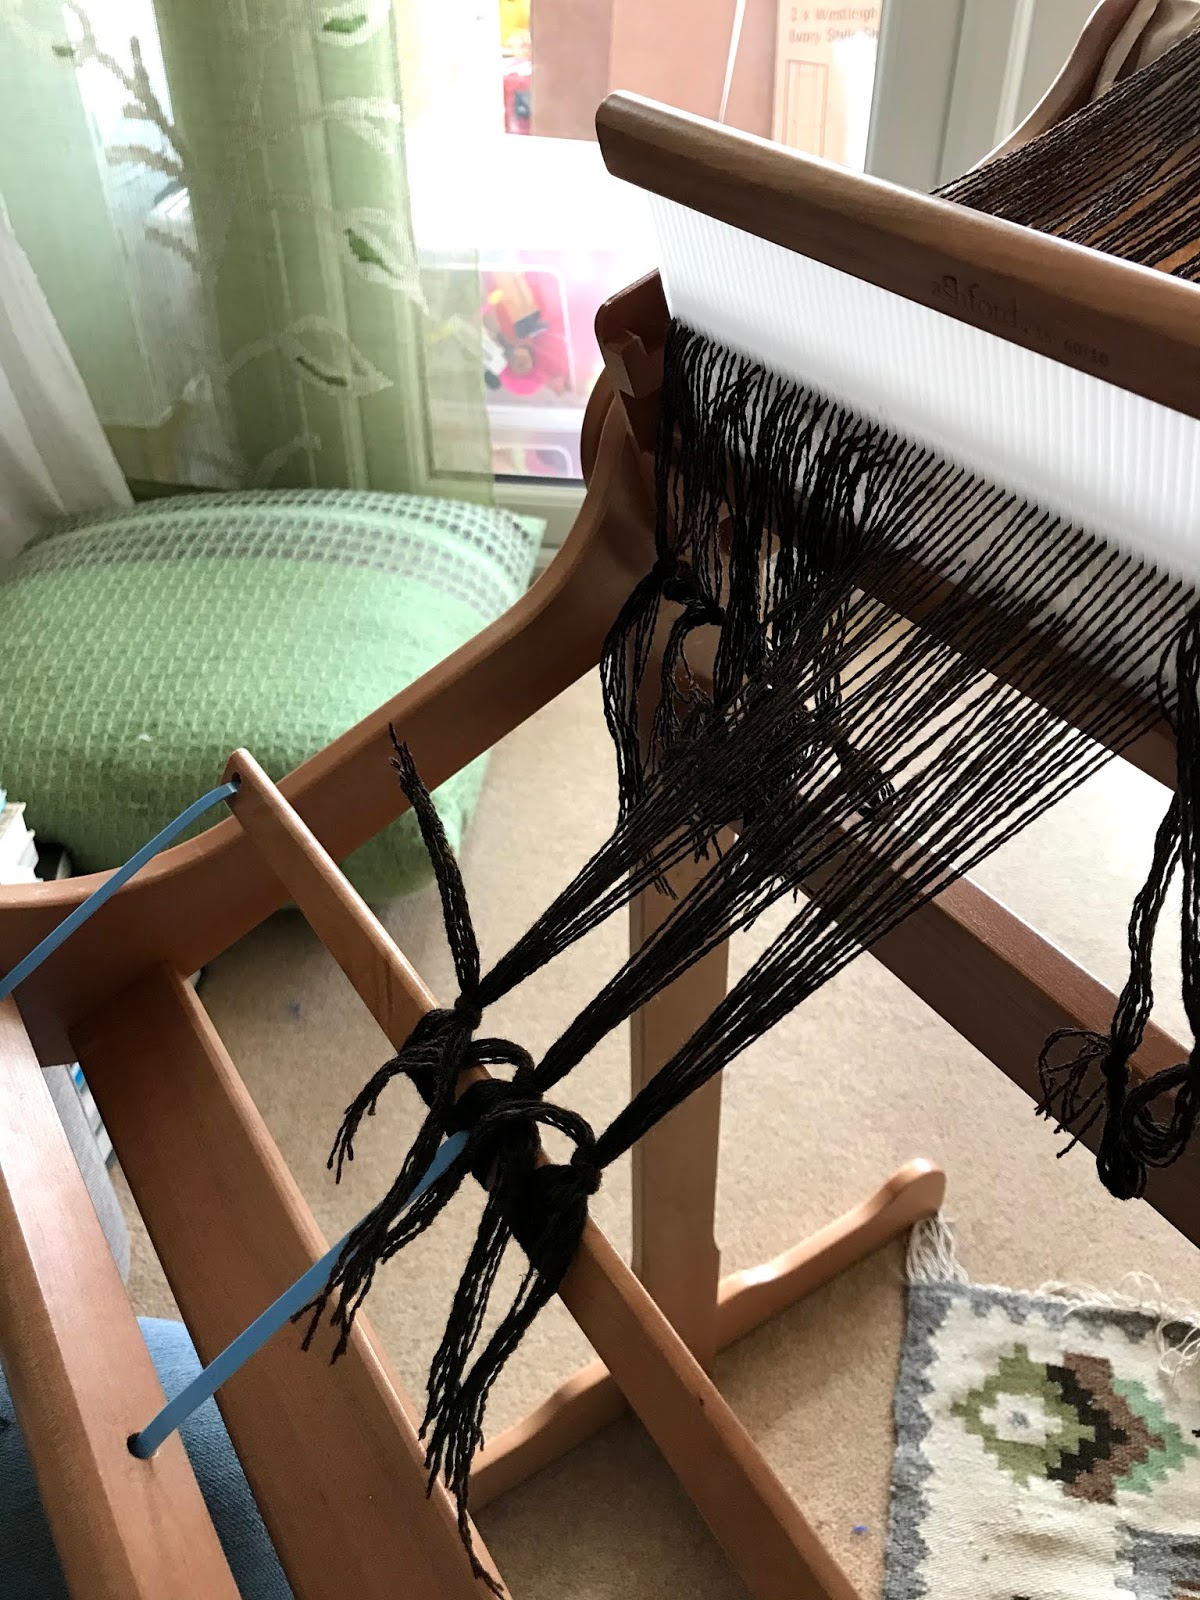
Keep going in this way, taking bundles from the right and left alternately until you get the end right edge.

So far your bundles have been tied so that the knot is at the centre of the bundle. But if you do this at the edge you will find that the rigid heddle will rub and shred the warp ends in the selvedge. Also, as the knot will bring the bundle in and away from he true width of the weaving you will be fighting a battle to get the selvedge out perpendicular to the end warp in the rigid heddle.
To over come both of these problems tie your knot so that it is perpendicular to the end warp.

There will be a wider gap between the bundles, but that will be sorted when you pack your warp.
Repeat this at the left side.

Now for the packing. Again, there is more than one way to do this and I've explored a number of ways to do this and depending on my warp, it's sett and how much yarn I have to spare I do it in different ways. In general, this is the way I pack my warps.
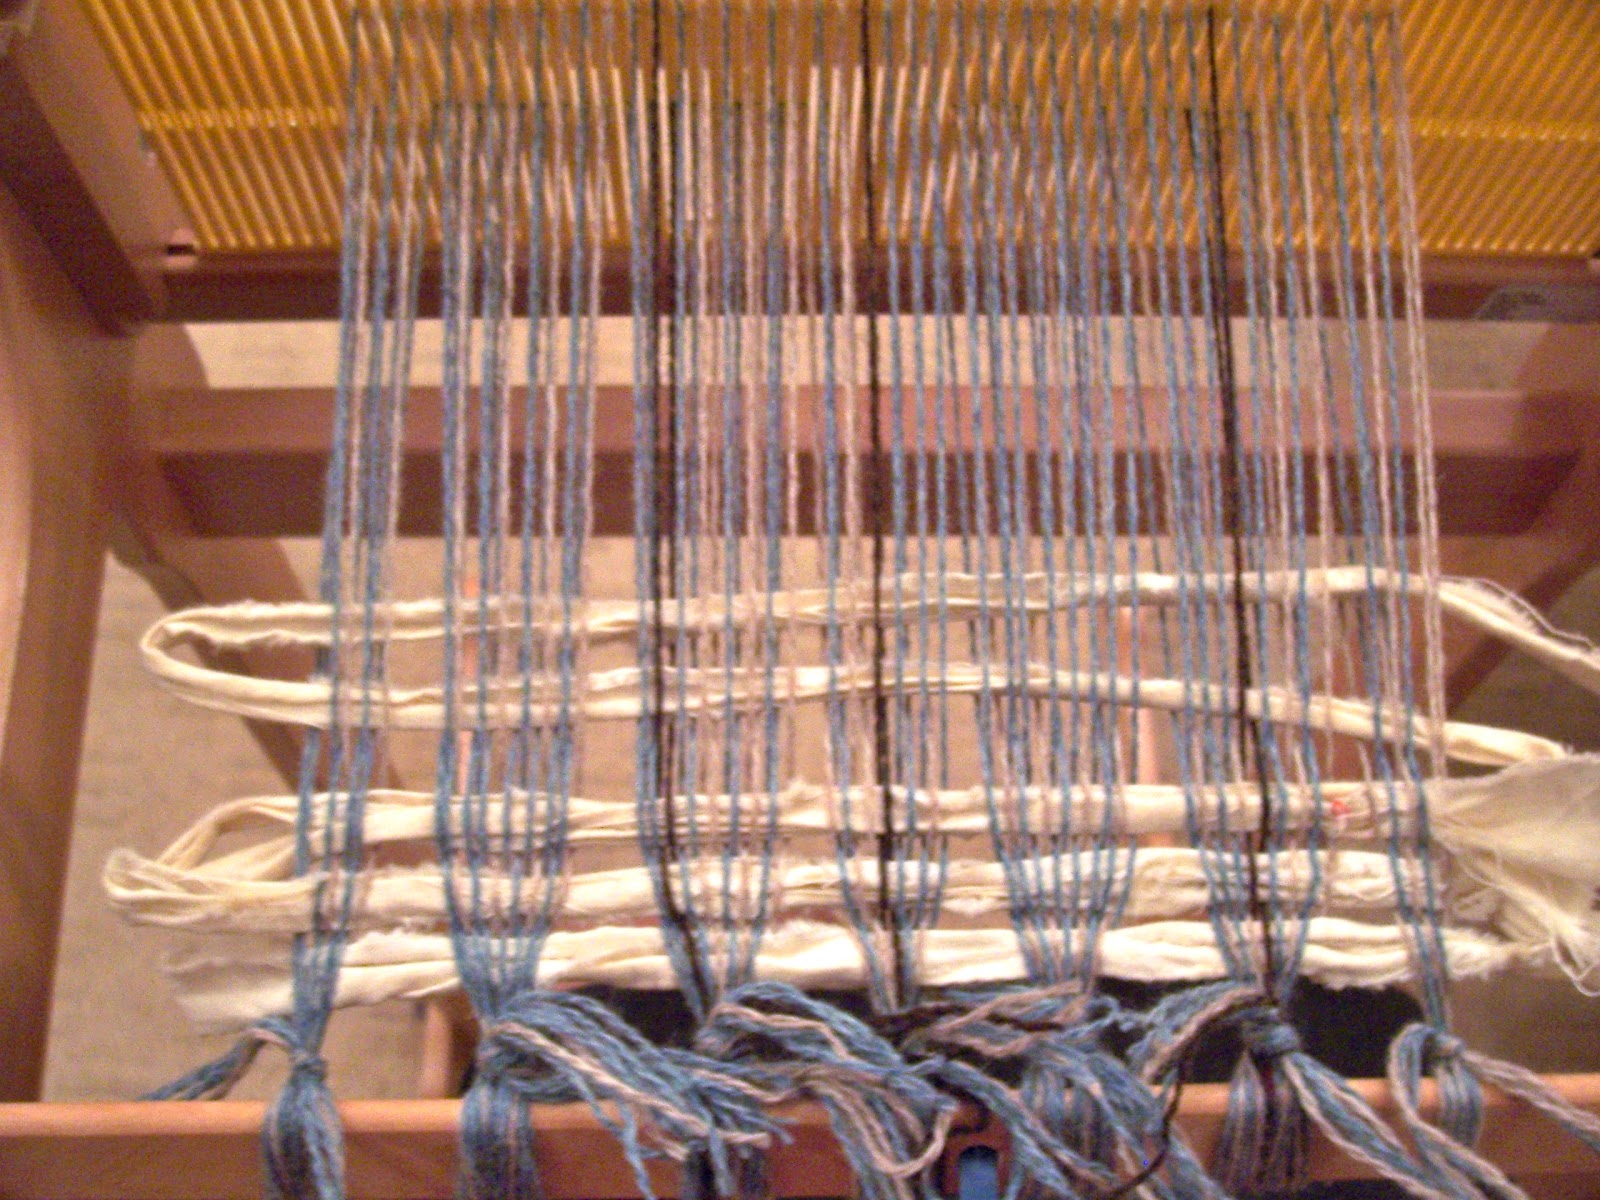
Take thick bundle of waste yarn or in this case a length of cotton fabric, cut into strips, measure a loop of fabric, wider than the width of your warp, open your shed and push the loop through with a stick shuttle.

Beat into place, then change your shed and repeat.

Usually three or four loops is all that is required.
Why do I use these loops? Well, once the weaving is finished, the loom state fabric cut off and wet finished, it's really easy to pull out the loops from one side rather than having to unweave the bundles.
Next time I will show you how the weave ensuring you don't pull in the sides of the fabric.